


Today, the only thing I wanted to worry about was finishing the tile job. The tile is down and grouted, but there are just a couple last details to worry about before I can put a check in that box and move on: sealing the grout and using tile caulk. Ohh, details... those little things at the end that are so easy to forget.
Lucky for us these last little details are simple and quick. Like I mentioned in a previous post, sealing your grout is an important step to help protect against stains because it's a porous material that will soak up whatever you put down on top of it. The tile we used in the entry is porcelain and therefore doesn't need to be sealed, but make sure you find a special stone/grout sealer if you use natural stone for a project (like I did in my $53 backsplash).
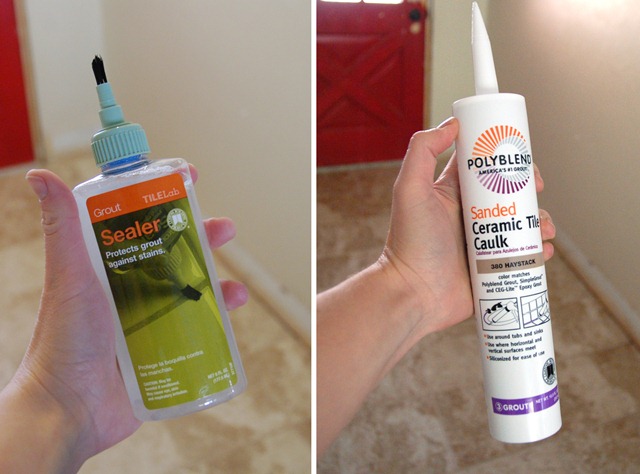
I went with the stuff with a brush applicator because the guy in the store said that while it takes a little longer than the spray stuff to apply, it lasts longer too. It was a nice small size perfect for a nice small job, but it does come in larger quantities, and there are also more expensive brands that supposedly last longer too. You should plan on sealing your grout every year or two to keep it stain-free.
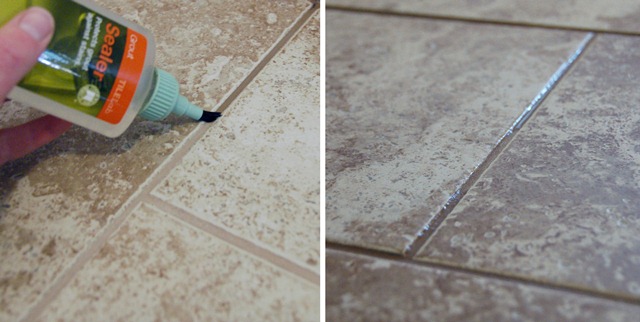
It's very easy to apply -- just squeeze it out along the grout line in as even a fashion as possible, let absorb for a few, go back over for a second coat, and then carefully wipe up any sealer that has gotten on the tile surface as it will leave a haze once dry that's very difficult to remove.
After that was dry I whipped out the tile caulk. You can find tile caulk right next to the grout and it even comes in matching colors -- you can see in the photo at the top that I used 'Haystack' grout and caulk for my entry. Try not to get too depressed when you buy a tube of caulk that costs $7, knowing that you only need a 48-inch line. Or you know, get depressed, and then help yourself feel better by buying a rug or a light fixture. You're already there, and I'm a proponent of retail therapy.
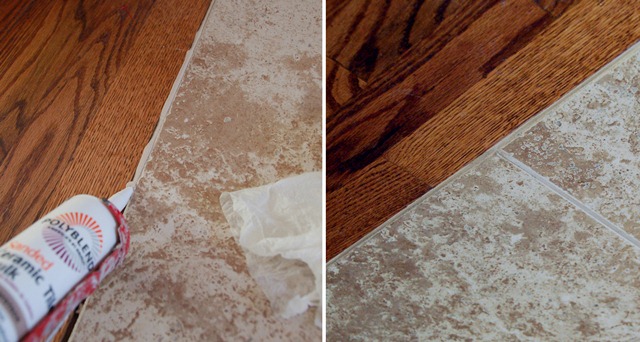
You should apply tile caulk where vertical or horizontal surfaces meet -- in this case, where my wood floors meet my tile floors. It flexes more than grout but still looks similar to it so you doesn't ruin the overall aesthetic by having a giant white latex caulk line down your floor. Sometimes $7 bottles of caulk are worth it, y'all.


Looks FAB! ....and I love the tile you chose. Its very neutral but warm. Looks great!
ReplyDeleteDid you think it was as easy as it looks? Did you have to use a tile saw to make cuts?
Oh my.....what an ordeal. Hope the basement dries out! Tile is lovely, by the way!
ReplyDeleteThanks for all the info! Trying to work up the courage to tackle my entry way on my own, you inspire me to have the courage!! Looking forward to seeing your final reveal :-)
ReplyDelete