


When I painted them last time I didn't research
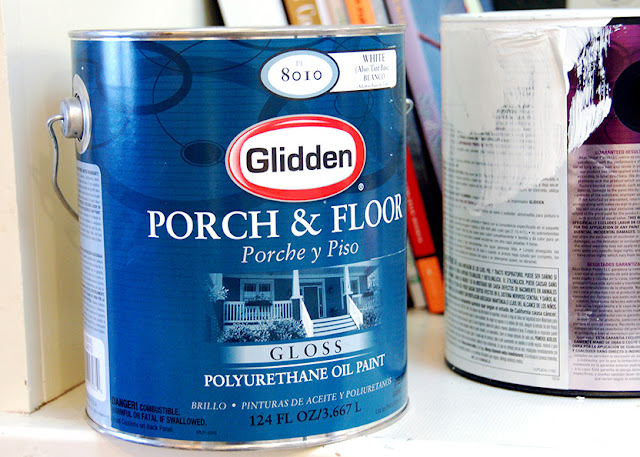
This paint does have a poly in it, which means it will yellow over time -- but since I hope to replace my doors in a few years and my kitchen is not a sunny room, I decided to give it a try. I am pretty sure Sherwin Williams makes a water based porch and floor paint, but I really wanted a self-leveling paint (oil-based) to help hide all the imperfections in my doors. So I'm taking my chances and I'll be sure to let you know how it holds up.
Here's what I did to prepare the cabinets correctly, so I don't have to paint them again in another three years (fingers crossed):
1. Caulk and apply wood putty to imperfections.
My cabinets are weird and they look homemade. I don't love them. There are lots of knots (they are knotty pine, after all) and textural issues, not to mention holes and dents (pine is soft). If you're making your own cabinets for some reason, maybe don't choose pine. Maybe. Just my thoughts. I look forward to the day I can get new doors -- like I said above, they're in bad shape with lots of nicks and cracking issues.
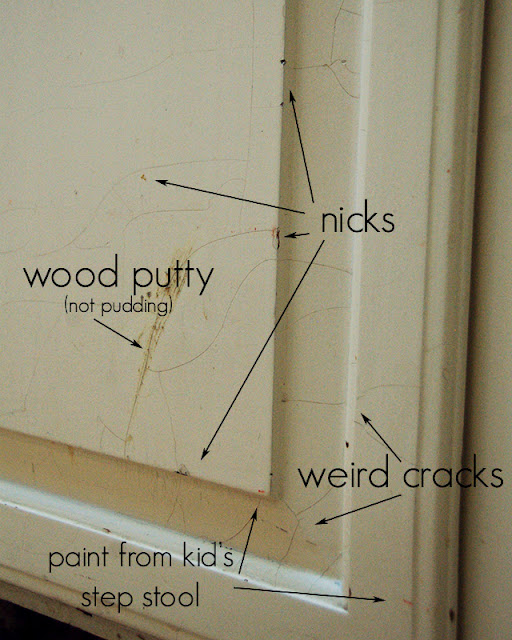
Did I mention that they're trashed?
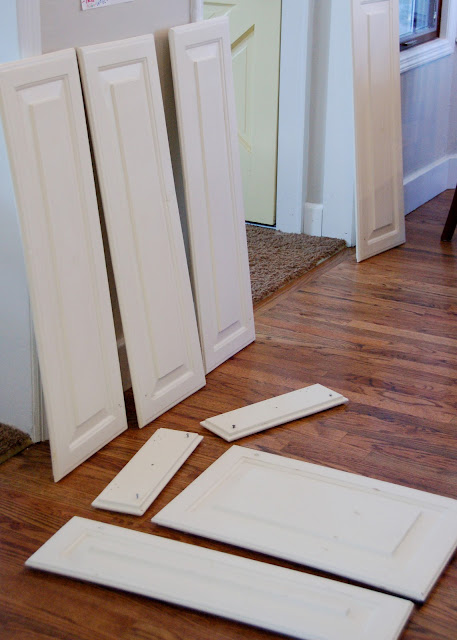
2. Remove hinges and hardware.
Do me a favor and put them somewhere safe, okay? Loose screws are like socks in dryers... just asking for a black hole to appear and snatch them away.
3. Sand
Like I mentioned above, I did use wood putty in several spots so those needed to be sanded down, but I also sanded the entire surface front and back to remove any trace of a glossy finish that would prevent optimum paint adhesion. (I feel like I sound so smart right now. It's an act, y'all.)
4. Clean
This step is pretty common sense. It's not the best idea to paint over your 5 year old's sticky pudding fingerprints. Not that those ever show up on my cabinets... nope! Grease and dirt are not paint's friends.
5. Prime
According to the paint can's directions, I don't need to prime over painted surfaces (i.e. most of the cabinet doors), even though the existing paint is latex. In general, it's latex-over-oil that is a seriously bad idea. From what I've gathered, there are oil-based products that do need a primer to go over existing latex finishes because the two products flex and expand at different rates which can be a recipe for bad finish (oil is harder, latex more flexible) but it seems that most newfangled oil-based products are formulated to work over latex.
I used my regular oil-based primer on the nicks where the orange pine in its original glory was shining through. It's always a good idea to prime raw or unpainted surfaces before painting, plus my paint can told me to.
After it dried, I sanded the primer smooth. You should never skip sanding the primer because it dries with an unpleasant gritty finish, but after sanding it becomes quite literally one of the smoothest, most delightful things in the world. Am I a giant geek that I love the feel of sanded primer? It's like a baby's butt and my husband won't let me have more babies. I need to seek counseling.
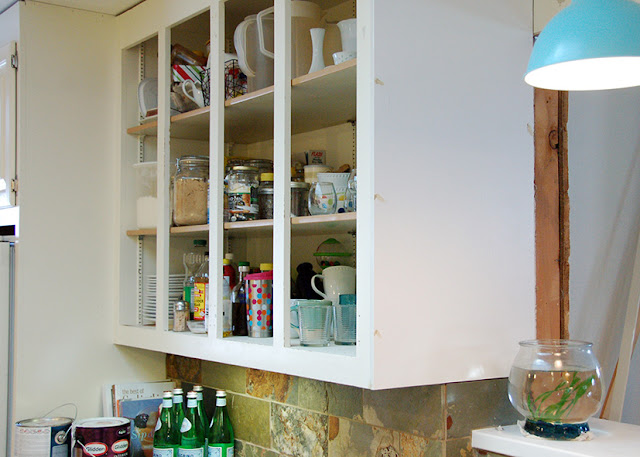
(my crowded cabinets wait for open shelving to be built)
Now it's finally time to paint. A thorough prep job makes such a difference in the results, but I swear it ends up eating 75% of the project time. Not fun for impatient folks such as myself who are dying to slap some paint up and move on with their lives.
Update: Read about the paint I used and my tips for a great application!


No comments:
Post a Comment
I ♥ comments. Me + you = BFFs 4VR.
(P.S. URAQT)