Showing posts with label painting. Show all posts

Tuesday, November 4, 2014

Some honesty (and a bedroom makeover for good measure)

Sometimes, life sucks a little. I'm just being honest. If we can't stop bumps in the road from coming, we just have to hope that they make us better, not bitter; right? I'm going with that. Suffice it to say, the past couple years have been a challenge for me personally... the last couple months, even more so. Maybe I'll share one day, maybe not. I've felt like I lacked any control over my life, and if you know me, you're aware that I'm a fan of the control... there's that darn honesty again.

When faced with the grim, humbling, horrible, awful, no good very bad reality that I didn't have control over a lot of the things in my life, I started to fall back into some old, unhealthy patterns of "pretend-control" that I used to practice. Things involving food. Not good, friends. Not good.

So I decided to stop. This time around I've benefited from being older (oy), wiser, and therefore possessed with the ability to recognize "pretend-control" behaviors a little easier, so hopefully it will be easier to redirect them... into home projects! Of course. 

Believe it or not, I've missed you, and I've missed toiling away in my little house. If I have to control something, it should be the color of my walls and the alarmingly slow speed at which I execute any sort of carpentry project. Measure forty-seven times, cut once (or three times and then go back to the store) - that's what they say!

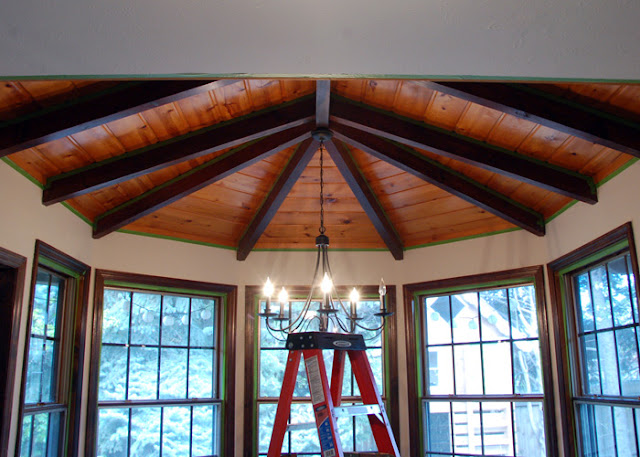
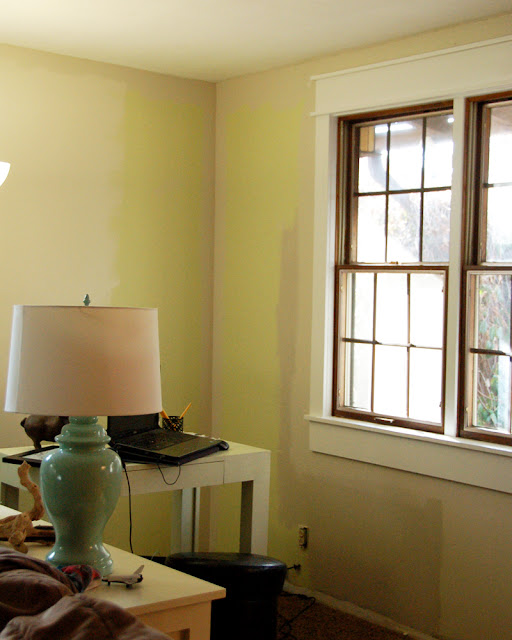
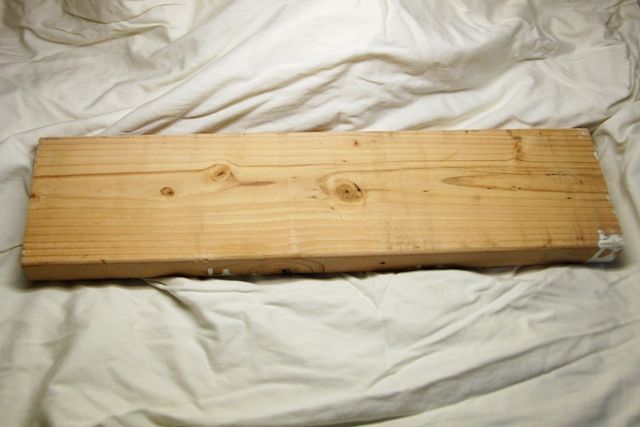
Right now I've decided to tackle my bedroom. I never really finished it and have been living without baseboard and with lots of plans for several years now. It's time to put an end to all of that silliness. So what did I do? I slapped some paint samples on the wall, duh. That's pretty much my solution to most existential crises.


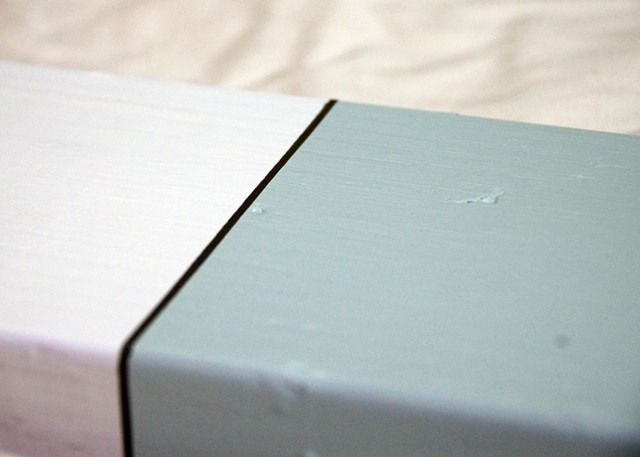
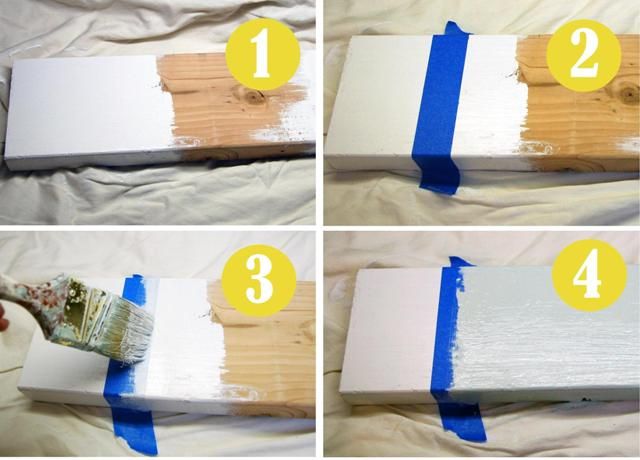
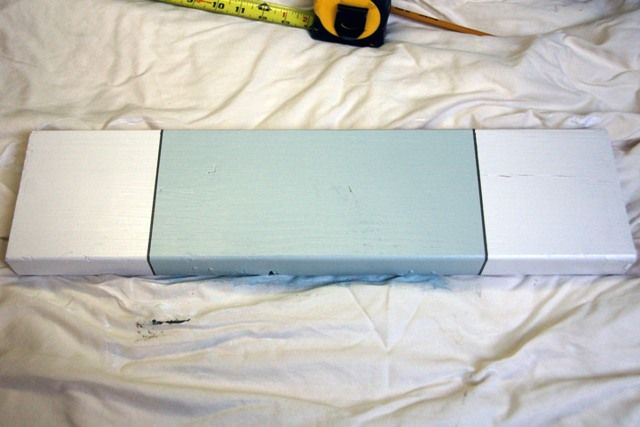
I've been in love with navy for a long while, and decided to take the plunge. On 1/4 of my bedroom walls (I have commitment issues and/or my bedroom lacks in the natural light department).

I'll spare you the suspense, because I totally already chose one, since I'm used to not blogging anymore and I'm learning how to be zen in making design decisions alone. I chose Benjamin Moore's Hale Navy for its delightful greyed out, deliciously pensive self. And then I painted the other three walls white.


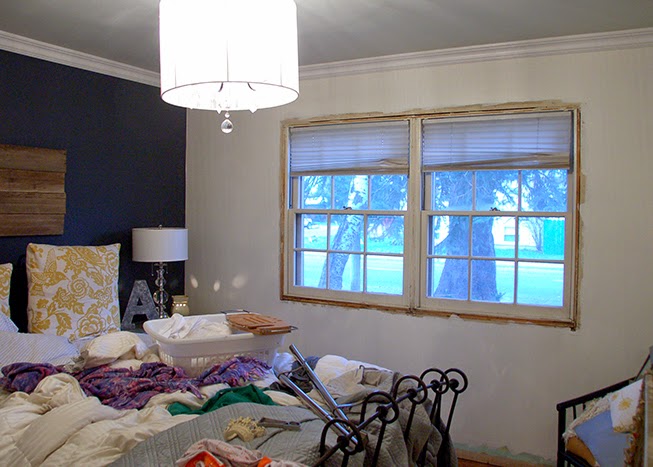
And then I forgot how to clean up for blog photos and left my sock monkey pajamas and half of my earthly possessions at the foot of my bed.

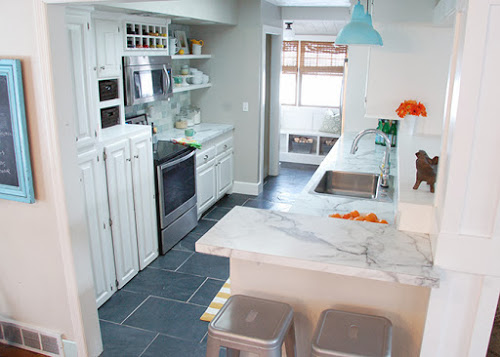
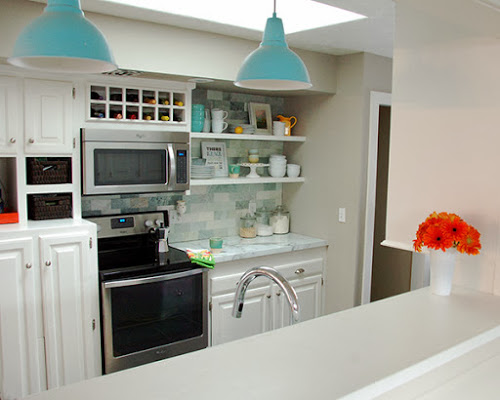
This is where I'm going:


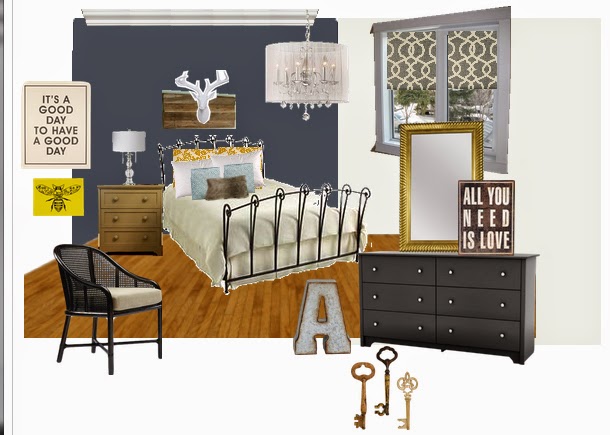
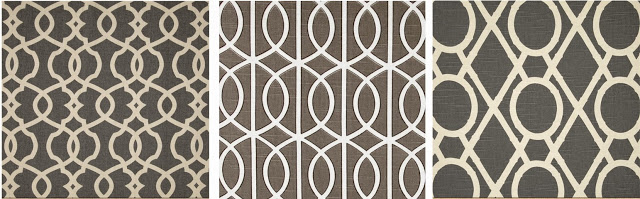
And the next stop, besides replacing all the baseboard and casing that I ripped off this morning, is picking some fabric for some roman shades. I'm thinking something geometric, gray or mushroom maybe? This is what I'm looking at:
(Source: 1, 2, 3)

As always, hit me up if you have any amazing ideas.

It's good to be back! I can't promise quantity... but I'm just happy there are still people out there who read. xoxo

Monday, March 10, 2014

Kitchen Reveal (Oh, hi there.)

I've been absent for a while, and the longer it's been since I last posted, the harder it's been to make myself sit down and write even when I felt the desire. I've been working on projects, even taking photos... but it's been very difficult to find the time or the motivation to start again (an object at rest tends to stay at rest, right?).

I'm going to try, though! One of my favorite things about writing this blog is that I can fit it around my life; I can post when I have time and projects to share, and remain quiet when I don't or when my "real" life demands more attention. I'm going to work on posting a bit more regularly, especially since (a.) that won't be hard when you look at my recent posting history and (b.) it makes me happy! 

So without further ado, some news about my kitchen. We got it done just in time for Christmas, thanks to our contractor friend Joe who was immensely helpful and The Tile Shop which sent me all the gorgeous tile.


Part of me still can't believe it's done because the kitchen has been an ongoing, never ending project for several years. Let's look back:


Now back to today...


Such a change, don't you think?  I'll be back to share some details in a day or two, promise!

Friday, May 4, 2012

Paint Prep {Pity} Party

I am officially entering the "regret" stage of my dining room trim painting project.

It was inevitable, as I tend to paint first and think later (it's a useful philosophy if you're among the many who want to paint rooms but can never bring yourself to actually do it). I'm all too familiar with the pangs of frustration as you remember just how long painting can take, and then the sad creep of resignation to keep going since half a teal room doesn't really work in your world. (or your marriage, if you're like my husband. He sees paint swatches up and he's all, "again?!" Ha. Yeah, again, honey.)

So, picture it: 2012, Sicily my dining room. I was super excited to get started even though I knew I was going to be slightly miserable for a few days since I had like a marathon's mileage worth of painters' tape to put up. I choose to cut in walls by hand when I paint, and I can even cut in trim by hand (although I prefer to paint trim first so I don't have to worry about a nice line).

... but this? 


 This was bananas. Window trim, but not windows... Ceiling panels, but not beams... it was time for some tape. And then some more tape. And a text to my husband pleading with him to pick up even more tape on his way home from work. You get it, I taped a lot. On a ladder. Off the ground (me + heights = Jerry Springer worthy fights). It was dumb.


By the end of the taping, it was time for bed and some therapy.

This morning I woke bright eyed and with a renewed sense of project naiveté


Priming! It's been a little slow as I'm doing most of it free hand (tops of baseboards, sides of casing) and I'm a little freakish about my new floors, but as of this very moment I am 100% done priming all the trim in this room (which is an accomplishment in and of itself) and I'm ready to prime the ceiling. First coat of paint up tonight sometime?? We'll see, that might be the primer fumes talking (I taped the windows closed! Curses!)

Back on the ladder we go...

P.S. I already love the white(ish, streaky, primed) trim. The room feels so much brighter and it makes me happy and lightheaded. Unless that's the primer fumes again.

Thursday, November 10, 2011

Where the Magic Happens...

Yep, the magic. It's a-happenin'.

That is... if by "magic" you mean, "shoving everything to the center of the room while you stop washing dishes in order to devote all your waking hours to caulking, filling, sanding, taping, priming, painting, and grumbling." 
 

That's what magic means in my world. Especially when you get paint on your bra -- that's how you know you're a legit DIY addict. Word, y'all.

Monday, June 6, 2011

How To Paint Crisp Lines (and Pinstripes!)

I don't get a ton of questions from readers, but one that I have heard several times is "How did you actually paint the stripes on your stairs?" or "What do you mean, leave the tape on and paint over it?" And several variations on those themes.

When I painted the pinstripes on my stair project, I mentioned it in a general sense but I didn't take step-by-step photos to really illustrate the process. And judging from the comments that the stair project receives, I think people thought it was a much bigger undertaking than it was.


So I put together a "how to" for your painting pleasure and to demistify the pinstripe process.

I started with a leftover piece of 2x6 from my kids' bunkbed project from last summer (I've gotten some serious mileage from the scrap from that project, let me tell you).


But you can start with whatever you like, stairs perhaps?


Step 1 - Paint the base color! You've got to start somewhere, right?

Step 2 - Measure and tape off for your stripes.

Step 3 - Paint the original base color over the edge of the tape. This essentially seals the tape so the new color cannot leak under that line. Brilliant!

Step 4 - Paint your second color (blue).


Step 5 - Lay a second piece of tape over the second color (blue) for your pinstripe (you'll be able to see the outline of the first piece of tape under the paint to use as a guide). Take your time on this step, I just eyeball it to keep the stripe thickness consistent.

Step 6 - Paint the second color (blue) over the new tape, sealing its edge -- remember, this second piece of tape is laid over your second color (blue) so if any paint seeps under it will match the existing color (blue!) Translation: no bleeding!

Step 7 - Paint your pinstripe color between the two pieces of tape.

Step 8 - Remove the tape.

Voila!


I like to remove my tape when it's still wet, but has sat for long enough that it's tacky and won't run. I give it 5-10 minutes to set up and then I pull the tape at a nice moderate-to-slow speed, almost doubled back onto itself at a 135-degree angle. (Tell me if that doesn't make sense and I'll draw a diagram or something fancy to illustrate),

If you're careful, you'll have a nice line with maybe just a couple of 'oops' spots like this:


But you should only have a few if you don't let the paint dry too long and are gentle while pulling the tape off, and you'll make short work of those spots with a fine paintbrush.

See? Not as difficult as it looks, and I think the pinstripe gives it a nice finished look. Is anyone itching to paint some stripes yet?

Sharing at Just A Girl
Related Posts Plugin for WordPress, Blogger...