


Another project done -- look at me being so on task! Pretty soon I'll have to start writing about waxing my brows or different vacuum patterns I can create in my living room carpet. Yikes.
Last month I went all crazy with the orange spray paint on some lamp bases, and I promised that I would be doing a little somethin' with the shades as well. I had several people comment about how they were looking forward to seeing what I had in mind for the shades -- I was really excited to get that kind of feedback! Then I started to get stage fright, worrying that I would let people down with the simplicity of my shade makeover. (Hey there, nice to meet you! I'm Anna, and I like to worry unnecessarily about pretty much everything.) For a while I considered trying something a bit fancier, but in the end I decided to stick with my original plan.
So I apologize profusely if you were expecting something totally awesome like this:
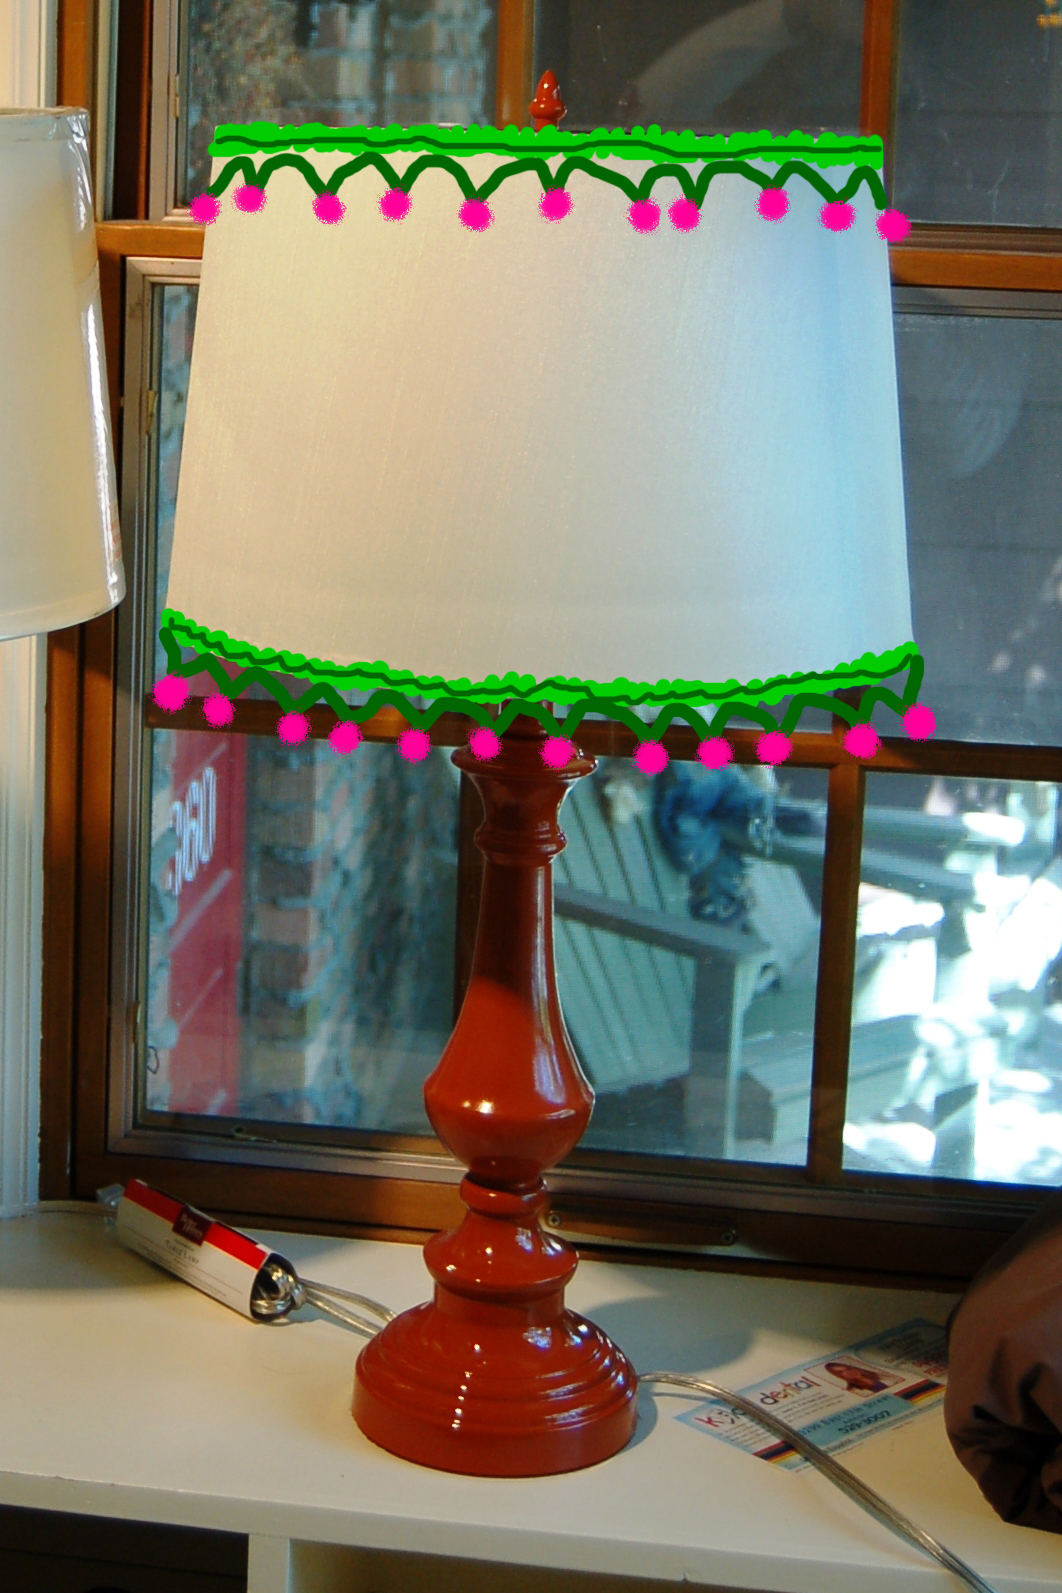
'Cause yeah, that would be pretty fabulous. Especially the pom-poms. But it just wasn't meant to be. (By the way, can we get another heck-yeah for my awesome photoshop skills?)
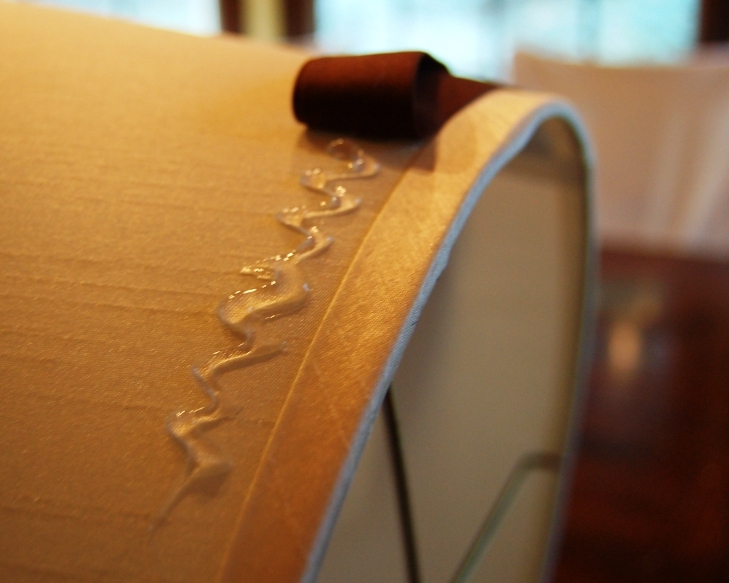
So here's the finished product in all its simple glory:
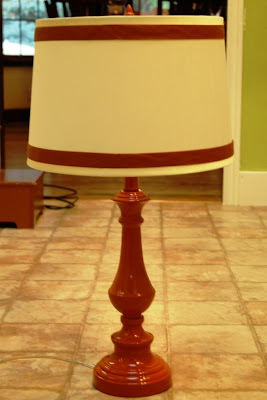
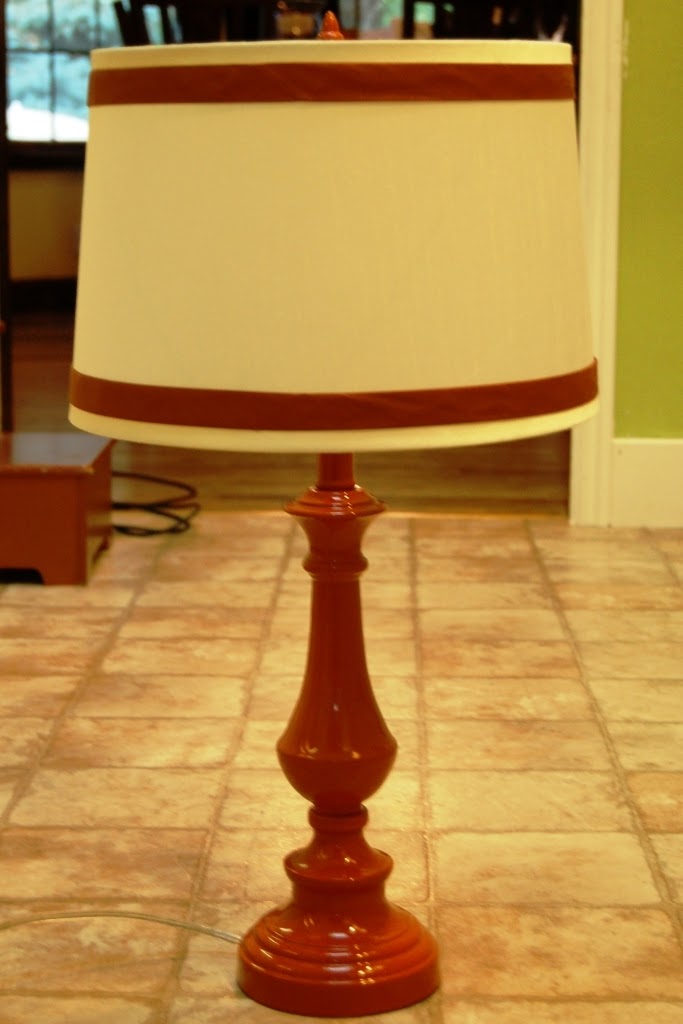
No, not quite as exciting as pom-poms, but hopefully just as great in a different way. The best part? It was super easy and I think this simple addition made a big difference. I purchased a couple packages of extra wide, double-fold quilt binding (bias tape). In case you're not familiar with this fancy product (because I wasn't -- not crafty, people!) here's a link to the wikipedia page.
Anyhow, I grabbed my trusty glue gun, turned the shade on its side and went at it. (Note: I actually tried regular white glue applied with a brush first, thinking it would help eliminate any hot glue "bumps." But I was much happier with the finished look after using a glue gun. I think the double-fold made a big difference -- you'll see why in a moment.)
In case I'm not the person out there who is clueless when it comes to crafty things like bias tape and all the varieties it apparently comes in, I am providing a "Gluing Bias Tape On Lampshades for Dummies" explanation. (You don't want to know how many minutes I spent staring at bias tape in the fabric store. Embarrassing.)
Anyhow, I grabbed my trusty glue gun, turned the shade on its side and went at it. (Note: I actually tried regular white glue applied with a brush first, thinking it would help eliminate any hot glue "bumps." But I was much happier with the finished look after using a glue gun. I think the double-fold made a big difference -- you'll see why in a moment.)

In case I'm not the person out there who is clueless when it comes to crafty things like bias tape and all the varieties it apparently comes in, I am providing a "Gluing Bias Tape On Lampshades for Dummies" explanation. (You don't want to know how many minutes I spent staring at bias tape in the fabric store. Embarrassing.)
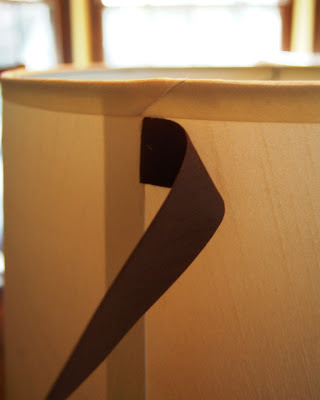
Behold, my awesome diagram of double fold bias tape.
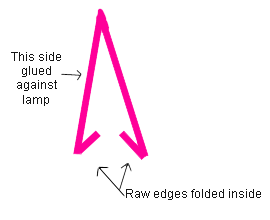
One side of the binding is a teensy bit shorter than the other -- it's folded just offcenter. I glued the shorter side of bias tape/binding against the shade so the longer side hung over to create a clean line along the bottom. Also, while any bumpiness might have been visible through the back side of the bias tape (the side that was glued against the shade), the longer side was not glued to anything so it draped smoothly and essentially 'hid' any glue gun bumps, even while it was pulled snugly around the shade (the top fold isn't flapping in the breeze or anything).
(Gosh, I hope that made sense. I'm not entirely sure that it did.)
When I got all the way around I cut notches out of the corners, folded the end over, and glued it down to finish my easy-peasy lampshade makeover.
Faaaaabulous!
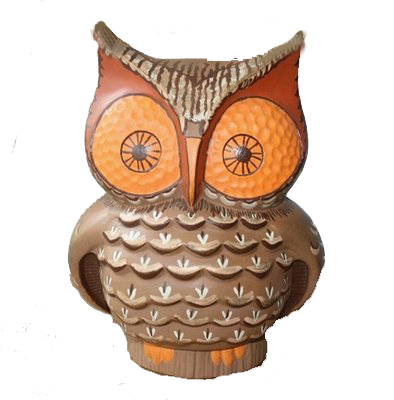
Bonus points if you caught that the bias tape in the "during" photos is dark brown... in the end decided I wasn't quite gutsy enough for brown and orange together without a liberal sprinkling of some shag carpet and these:
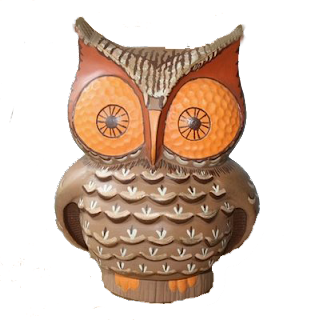 And there's no way I'm putting those owls in my house. So I'm pretty sure I made the right decision.
Linking up to Chic on a Shoestring Decor,
Under the Table and Dreaming,
Tatertots and Jello,
House of Hepworths,
and Just a Girl...
Bonus points if you caught that the bias tape in the "during" photos is dark brown... in the end decided I wasn't quite gutsy enough for brown and orange together without a liberal sprinkling of some shag carpet and these:
Linking up to Chic on a Shoestring Decor,
Under the Table and Dreaming,
Tatertots and Jello,
House of Hepworths,
and Just a Girl...


Heck yeah! <= YOU in the mad skills department
ReplyDeleteI'm totally excited for those lamps to come live in my guest room.
Also, thanks for the clear explanation of the glue & binding thing. I get it now, all because you bothered. xoxo
I didn't mean for that to be anonymous, of course. I meant to sign it in big letters:
ReplyDeleteLOVE, MA
Very cute. I like the real makeover better than the pom pom one. :P
ReplyDeleteI agree. I think it's much cuter without pom poms. :-) I have to say I wasn't quite sure where you were going with all the orange, but pairing with the brown was a great idea!
ReplyDeleteLove it! You did a great job, no pom-poms required!
ReplyDeleteWow, we must be on the same wavelength! I just used double fold bias tape on the top and bottom edges of some lampshades. Although I haven't posted them yet because I decided I don't like the color so I'm going to rip it off and put on a different color.
ReplyDeleteGreat job, the lamps look great!
I think this looks great! I love bias tape simply for the fact that I don't have to iron anything flat! Ha! I hope you can check out my giveaway for $65 to CSN stores.com! It ends tonight! alittleknickknack.blogspot.com
ReplyDelete