Saturday, July 30, 2011

Happy Blorthday

Today is my blorthday!

 Blog... birthday... it's a blorthday. Do you think it'll catch on? Nah, me neither.

I started Take the Side Street one year ago as a creative outlet and an online diary of sorts, where I could talk my way through my design decisions (beause I hate making decisions) and hopefully get some feedback (translation: have other people make my decisions). And while I've certainly done a little bit of thinking out loud here and I've gotten some great feedback from my fabulous readers, this blog has turned into so much more than I originally planned!

Blogging has helped me meet some fabulous people, it's served as an amazing outlet for me as a stay at home mom, and it's been a great opportunity for me to stretch my creative muscles.

I'm excited to see what the next year holds -- thank you for being a friend!


Super important blorthday question for discussion: Which Golden Girl are you - Sophia, Dorothy, Blanche or Rose?

I think I'm Sophia, with a little streak of Rose. When I say 'little streak' I might be overly optimistic though.

P.S. Tonight is my high school reunion. I die.

Interesting reads

Wednesday, July 27, 2011

Taming the Green Monster

I'm outside again today! I swear I'll go back inside soon, but I've been concentrating on outdoor projects to take advantage of the nice weather -- our summer here is way too short.

I wanted to share another small project I finished in the quest to make my backyard a hip and happenin' spot for clambakes and cocktail soirées galore. And by that, I really just mean that I want it to be a place where people can be reasonably comfortable when they're over.

My ultimate plan is to get some furniture in and turn the space into an outdoor living area, but right now I'm busy laying a foundation of awesomeness. First up, I needed to sort out the bench -- I wanted to take advantage of the built in seating spaces the house came with, but the bench was sadly lacking in the comfort area.

As you can see in this picture from the spring, plants had been trained to grow along wire that was stapled to the bench backs to create a green backdrop of sorts. Unfortunately, the plants had grown around both sides of the seating. And I learned really quickly that no one likes to sit on a bench if they're going to get a kidney poke from a branch or lose an eye to an ill-placed leaf. It just wasn't comfortable, and I'm a fan of functionality (without sacrificing form, of course!)

We decided to build a frame several inches behind the benches for the plants to grow on, all while keeping them in their own happy little personal plant bubble to avoid guest-plant smackdowns.

First, the mister dug holes behind the deck on either side of the bench in question (with a couple helpers complete with buckets and work gloves)


...and then he did some post-and-cement magic while I made iced tea and talked about how quick and easy this project was!


After the posts were secure in the ground, I had my nephew come and remove all the wire (which you can't see very well in photos, but was stapled along the back of the benches from ground to railing). Once this was done, the green monster was released.


Pretty frightening, right? Just imagine if that had been unleashed on a poor unsuspecting dinner guest.

Add a couple 1x4's sneakily threaded through the plant's woody stems, screw them into the posts that my mister so graciously installed, and voila: a green monster, tamed.


(Notice my zebra deck? Yeah, that's a sneak peak of things to come.)

Like I said, I'll go back inside... eventually. Right now I'm busy enjoying the fact that I can actually sit down. On my bench. And I can even lean back -- success!

Monday, July 25, 2011

Extreme-ish Makeover: Treehouse Edition

Were you up all night trying to figure out what my weekend clue alluded to? Of course you were.

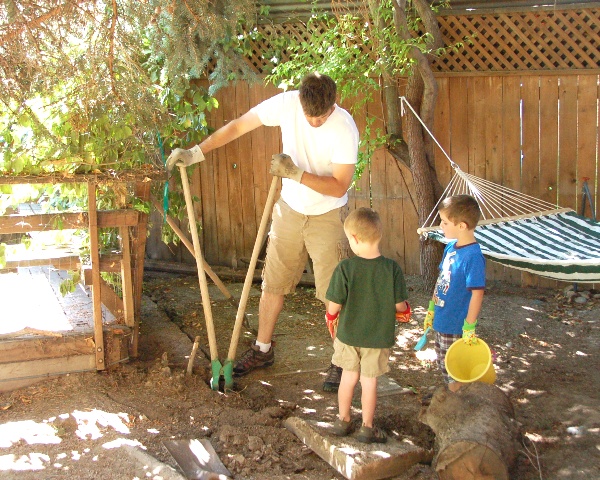
I convinced my husband that Saturday would be a perfect day to tear up the boys' treehouse and make the exterior cuter. And surprisingly, he agreed. After I got over my shock, we dove right in. The entire project took a (longish) afternoon.


Yes, I realize it's not actually a treehouse. But it's a house surrounded by trees so 'treehouse' it is, because my kids don't like it when I call it a playhouse. (They prefer 'secret clubhouse where no girls can come inside except mom because she's mom' but that's a bit wordy for my tastes)

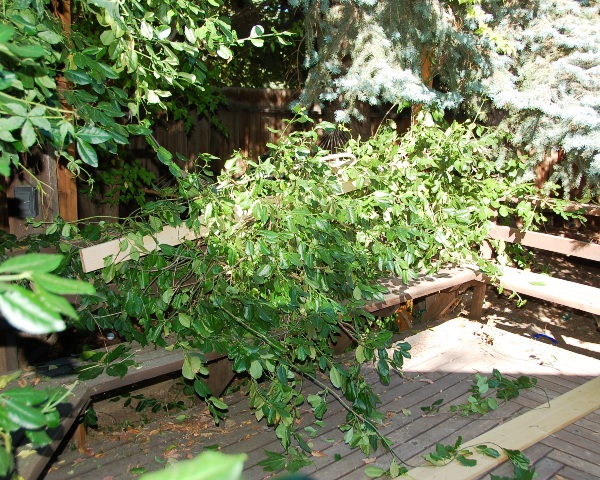
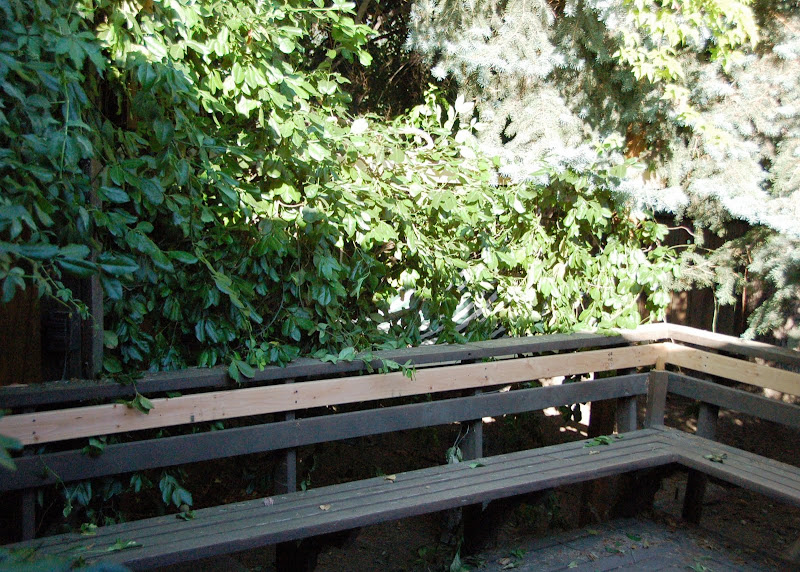
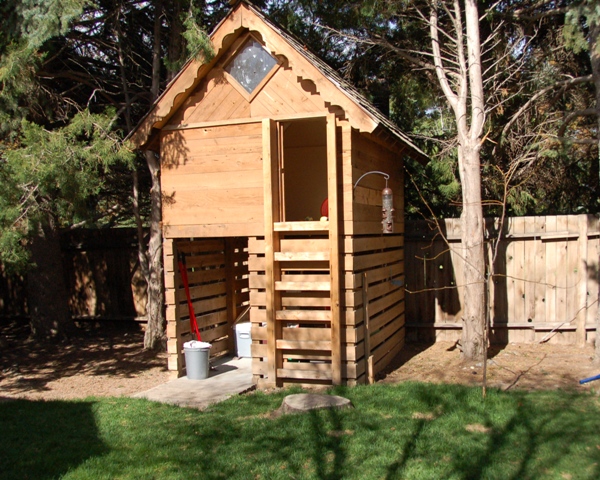
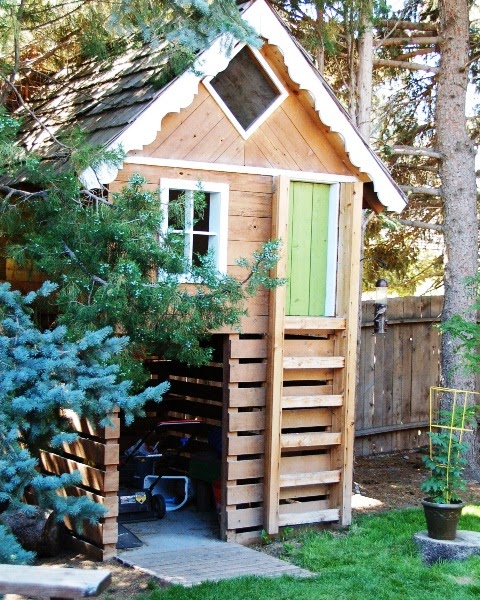
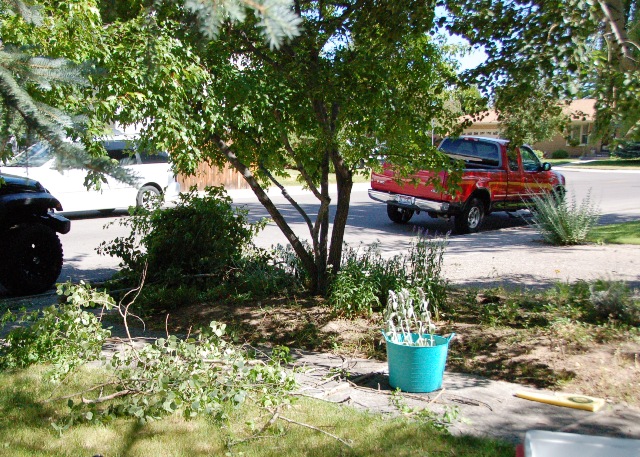
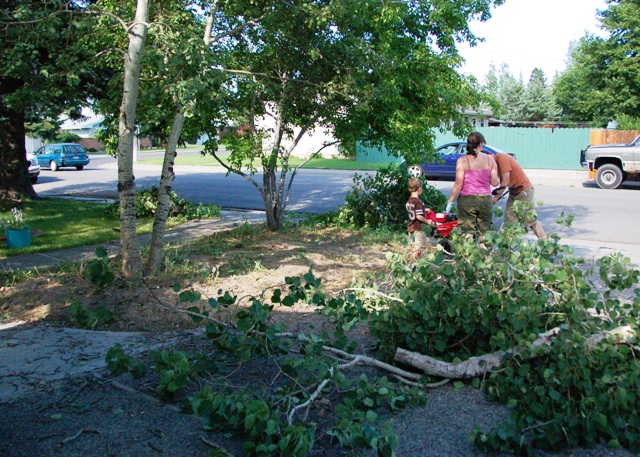
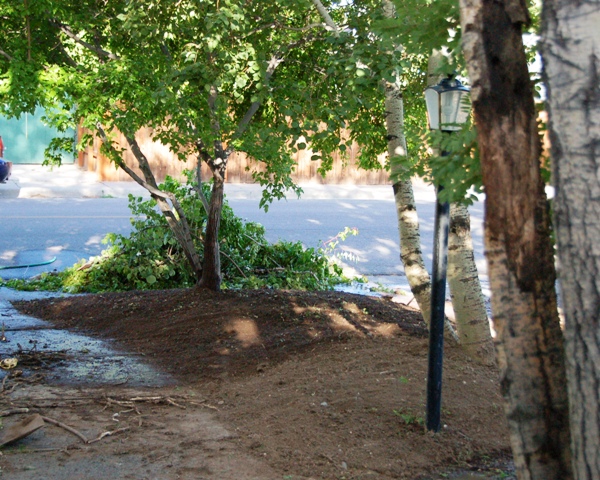
Here's a photo of the treehouse before it went through its makeover, just to refresh your memory:


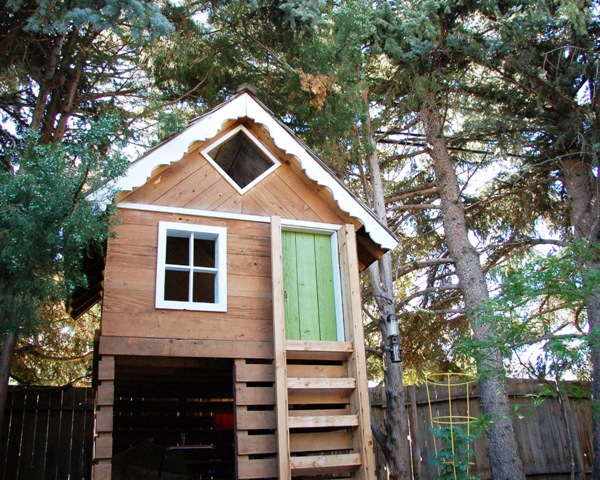
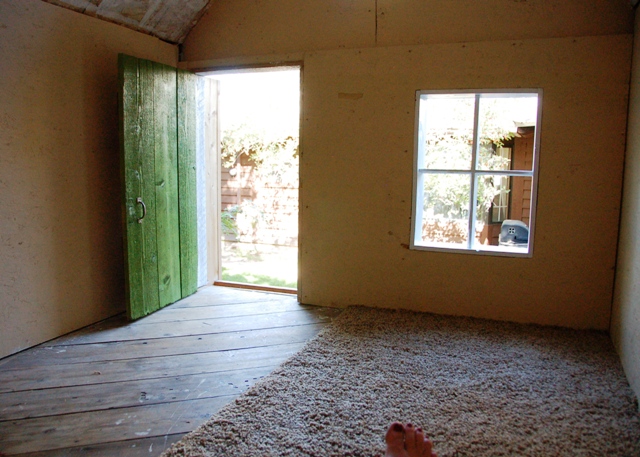
I've wanted to add a window to the treehouse since we bought our home, for both cuteness factor and transparency; right now I'd like to see my cute kids and not worry about them, but I also wanted it for when they are teenagers and I start eyeing them suspiciously when they suddenly decide the treehouse is cool again. Pfffft. Yeah right, dudes.


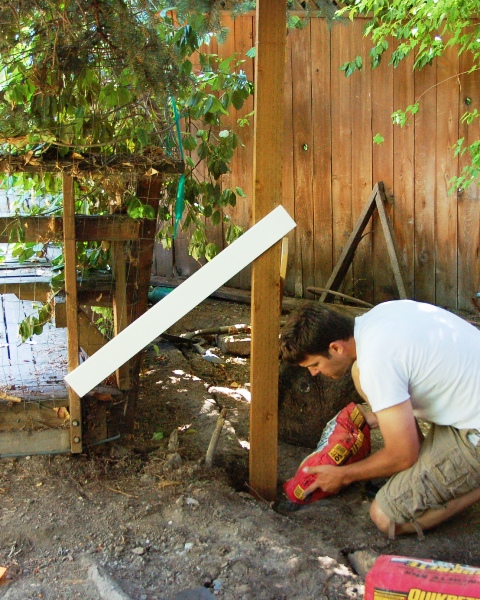
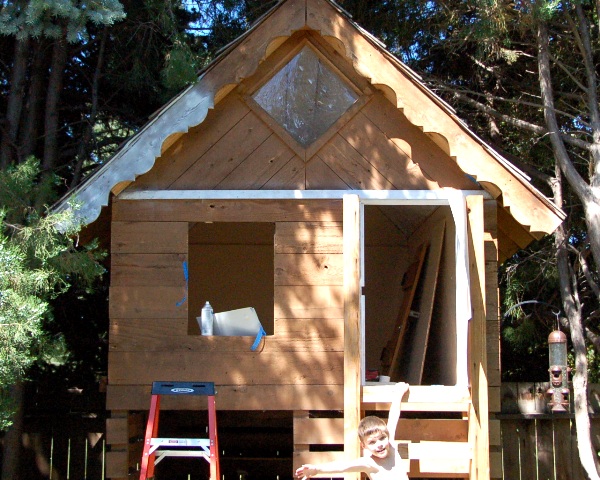
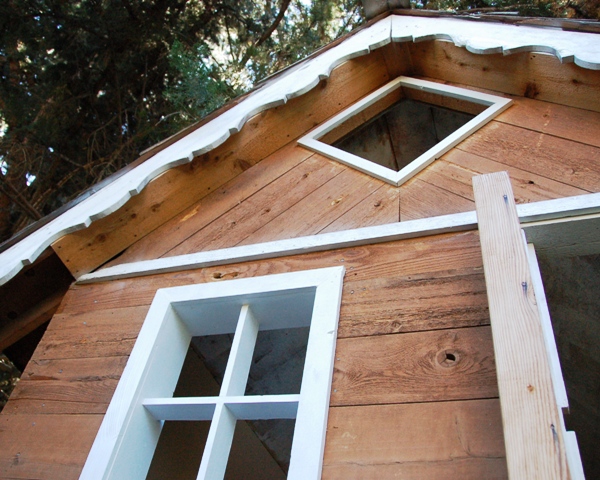
The entire process consisted of removing the interior wall, cutting a rough opening and building a frame out of a single 1x6, then adding pieces of 1x4 to create the look of four window panes (for cuteness and safety), screwing the frame into the treehouse studs, cutting a matching hole in the interior wall and then replacing it, and adding some trim (1x3 furring strips -- I like to do things on the cheap. It's a treehouse. It's rustic, y'all.)

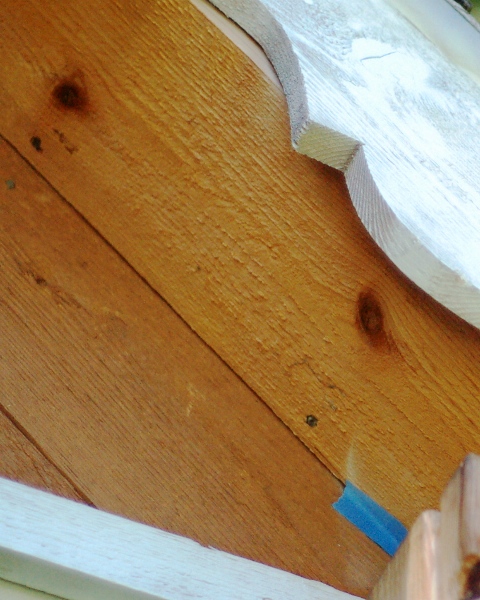
Oh, I also painted a lot. I used spray paint because it's oil-based and interior/exterior, and I didn't have to go buy special brushes or get super messy ('cause that's how I paint). I used the ultra-professional combination of painters' tape and pieces of scrap posterboard to paint the trim that was attached to the treehouse while standing on a ladder, and then painted everything else I could on the lawn before installing it.


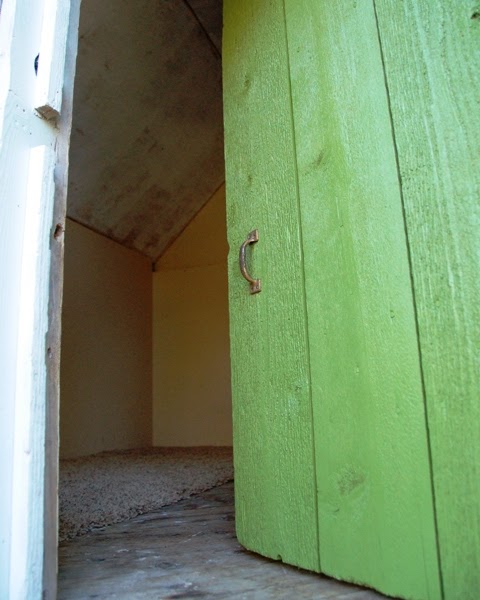
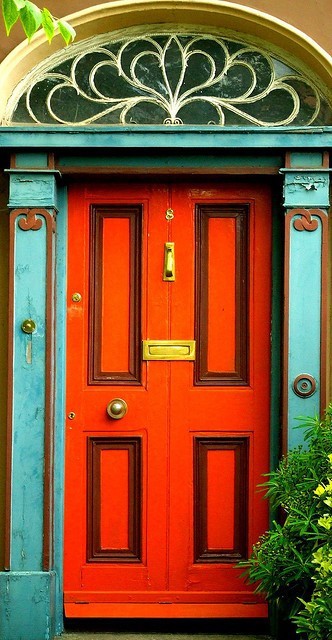
The door is bright green, because my husband vetoed my initial choice of aqua. He said it wasn't "manly" enough for a miniature man cave (since he wants to move his computer outdoors now? Boys.) I pointed out that it couldn't be too entirely manly on the outside because it came with gingerbread trim and that hunter green was tooootally out of the question, so we compromised on this fun leafy green color.

But really, how cute would aqua have been?

My idea for a flower box under the window has also been shot down by the powers that be. Bah.


My husband is going to help the boys decorate the inside a la scout camp. I've been told that I don't get any input, even though I totally came up with the scout camp idea, helloooo. I consider this to be a gross miscarriage of design justice. I'm certain that I possess a manly decor muscle even if it's sort of puny and weak (maybe that's why I can't do a pull up!).  I know how to buy tin signs with fish on them and avoid floral throw pillows, and I guess I could even avoid the color aqua if it offends.

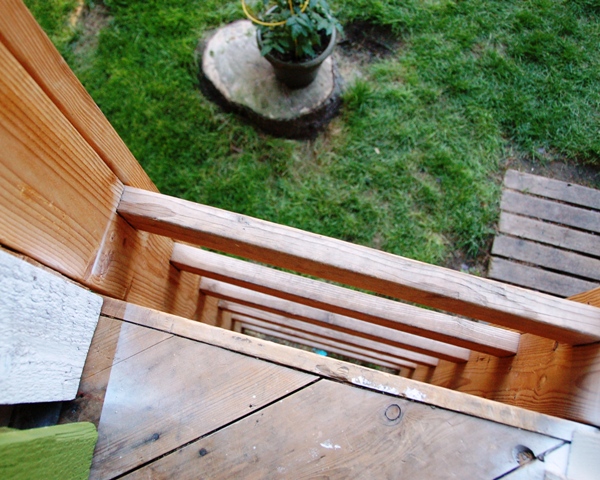
(oops, hey there toes.)


It's me versus the mister now, peeps. We'll see whose decor ideas reign supreme. For now though, I'm content to see this little surprise pop of cuteness outside my window every morning.

Sharing at Home Stories A to Z, Thrifty Decor Chick

Saturday, July 23, 2011

Just So You Know...

Victory!


Considering my cherry tomato plant is only a couple feet tall, it's the end of July and I finally have my first little tomatoes starting, maybe I should change it to "marginal victory!"

I'm going to blame it all on our cold spring. I like blaming things on weather.

Also, my sweet hubby and I are hard at work today on a little project...can you guess what it is?


That's the only hint you'll get, come back Monday or Tuesday to see more.

Have a great weekend!

Thursday, July 21, 2011

Orange + Aqua = Love

Yesterday's post about the room design Cassity and Roeshel put together sent me into a color loving tailspin and I spent some time reflecting on my love for all things orange (or coral) and aqua (or turquoise). Blue and orange, baby. I feel like we're seeing it everywhere right now, and just between you and me I'm much more okay with these bright and fun colors than the whole honeysuckle 'color of 2011' thing going on. But that's just me and my years of repressed issues with pink, maybe?

In honor of my aqua + orange undying love (I also love these colors with green), I did a little pinterest searching and found some pretties for us this Thursday morning.

{Click on any photo to be taken to the pin}


These colors have so much life in them! I find myself wanting more and more color in my house (and life!) lately. What about you?

Wednesday, July 20, 2011

A Casual, Beachy Living Room

At the end of last week, two home bloggers shared a room that they had the opportunity to design from the floor up for Shaw Floors HGTV Home Design Challenge in North Carolina. Cassity from Remodelaholic and Roeshel from The DIY Show Off were partnered together and I think they did an AH-mazing job on their room, which they only had eight hours to complete!!

The object of the event was to design a room around some Shaw flooring, and the starting point for these two ladies was hardwood floors with an area rug. The room they pulled together is casual and comfortable with lots of amazing beachy details and bright colors. I LOVE how many different colors are used throughout the space, and the rug just pulls them all together beautifully.  Cassity and Roeshel did a beautiful job mixing the colors with neutrals to keep the space warm and bright without being over the top. I want to hop into the photos and hang out there forever for awhile! Great job, ladies!!

The idea of being able to put together an entire room without having to wait months to squeeze out deals and pinch your pennies is sort of intoxicating to me. It sounds like they had an incredible time together and with the other bloggers who were invited to the event... how could they not? Check out these photos and then hop over to Remodelaholic and The DIY Show Off to see more and read about their experiences if you haven't already!


Tuesday, July 19, 2011

We Came, We Tilled, We Conquered

My front garden? Was pretty tragic. Garden sadness.

And since I like to pack as much as humanly possible into my weekends, after the birthday party on Saturday it was only natural that I scheduled an afternoon garden demolition festival of epic proportions. I bribed my sister with sangria because I'm crafty like that, and after the last guest had left we were able to get straight to work.

I didn't even get a real 'before' shot taken because my sister gets antsy when she has tools in her hand and she ran outside and started chopping stuff down, but here's a shot from last summer and a detailing of some of the more pathetic points:

  1. The fabulously gorgeous Amur Maple on the street side was in desperate need of some love and was growing low over the sidewalk -- one of the trunks was also really low and actually made the tree look more like a shrub because leaves hung down to the ground in places. It needed some help.
  2.  There were a ton of weeds. When we first bought the home there were some pretty plants in the garden, but they were really aggressive and they also set burrs so they had to go. Even after we added plants ourselves, there was still a lot of space open for weeds, and they rose to the occasion. This year I found myself fighting a losing battle!
  3. I was worried about the quality of the soil. Plants weren't growing (except the weeds) and water was running off instead of soaking into the soil.
  4. The majority of the aspens in the front yard look like this:

I'm going to be requiring the services of a tree removal company soon for a couple of them that are close to the house, and Mike has plans to cut down one or two this summer with my brother-in-law. It makes me sad even though I understand that aspens aren't incredibly long lived trees and they're susceptible to bores around here... I love all the trees we have, and I'll be sad to see any of them go.

Back to Saturday. My sister and I spent a few hours working on fixing what we could; we pruned the maple so it looked like an actual tree, cleaned up the aspens by removing what dead branches we could reach using a ladder, and dug up all the plants I wanted to save.


Next, Mike rented a tiller from our neighborhood Home Depot (have I mentioned we live less than a half mile from both Lowe's and Home Depot? Talk about my own personal recipe for financial disaster! Oy.) We added steer manure and soil amendment to the garden and he tilled those into the soil, which will hopefully help the quality improve (that and some fertilizer treatments...)

It was pretty difficult work for him and his manly muscles, but better him than me. He had to contend with lots of roots and an old soaker line that wasn't functional. I followed him around digging the pipe up as he unearthed bits of it.


After that my handy husband raked and sprinkled a few times to get the grade just right.


On Sunday I was able to start returning my plants to the garden. I even put a listing on my local freecycle group asking for plants that people were getting rid of or dividing, and I was able to go to a neighbor's home and get several more flowers, some sedum, and succulents to add to my new garden for no cost at all. 


I'm so happy! It still looks a bit sparse, but that's to be expected with a new garden. I'm excited to add a few more plants here and there and watch the whole thing grow in over the next couple years.

Definitely a well spent Saturday afternoon, don't you think?

Sharing this at Centsational Girl's Garden Link Party...

Monday, July 18, 2011

Mario Brothers Birthday Party

The Mario party was on Saturday, and we got through it in one piece. Well, each of us in our own respective piece, not all of us squashed together into one... never mind. You understand, I'm sure.

Here is one of the tables, this one had drinks and favors.


We gave each guest a question mark box when they went home, but they also got a Mario hat and moustache right when the party started.


The kids sat outside. I filled metal buckets with rocks (in saran wrap, of course!) and topped them with potato chips, then used the buckets as weights for the balloons.


The food table:


There were two types of cupcakes, Mario & Luigi brick pizza squares, rainbow colored skittles, red grapes (fireballs) and marshmallows on sticks dipped in light blue candy melts and topped with snowflake sprinkles (iceballs).


And of course, I  forgot to take photos of the cute marshmallow treats. Oh well!

The party started with some Mario-themed coloring while we waited for everyone to arrive...


Then we played games, including "Stomp the Goomba" (Goombas = bad guy mushrooms) which the boys loved.


We also played Mario Bingo with sheets that I made a month or so ago.


Aidan blew out his candles...


The boys participated in the birthday gift bumrush (why give someone breathing room when you can sit on their lap while they open gifts?)


...and posed for some group photos (which I'll be using for the thank you cards)


The birthday boy loved it, and I'm glad that I kept the food and decorations relatively simple (even if my husband thinks I went overboard... he needs to start searching party themes on blogs to gain some perspective . Oy.)

{You can see the invitations and the favor box/Mario hat details in past posts.}

Sharing at: Under The Table and Dreaming, The DIY Show Off

Sunday, July 17, 2011

Six Years

Happy Birthday to sweet Aidan... six years old today!


Related Posts Plugin for WordPress, Blogger...