


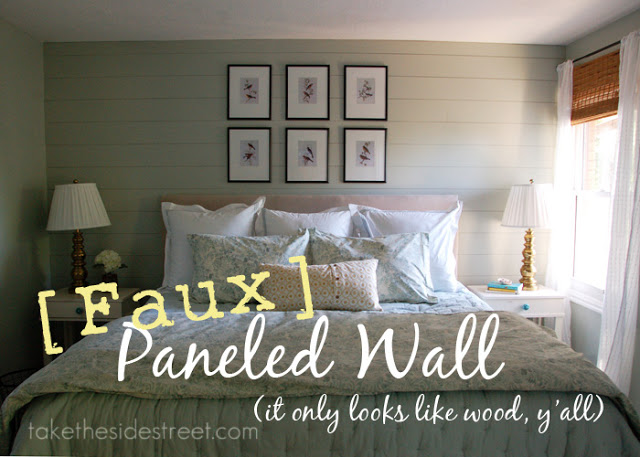
For my mom's room, I knew I wanted to create the look of a horizontal planked wall behind her bed -- but I didn't have the budget to make it a reality, so I got creative. I figured that whatever material I used, once it was installed wall to wall you wouldn't be able to tell how deep it was and it would look (pretty much) like a regular paneled wall.
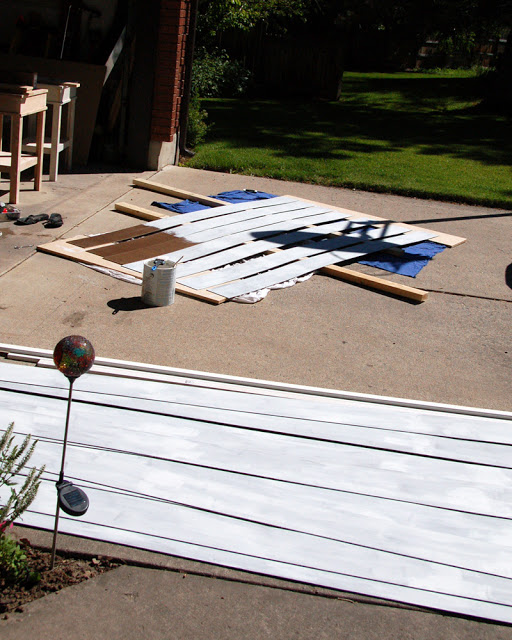
So with kiddos in tow, I ventured into my friendly neighborhood Lowe's where I had them cut 3 sheets of 1/'8" Masonite hardboard (like pegboard but without the holes) into 6" strips for me. Lowe's has a generous cutting policy that is great for projects such as this.
After getting them home the first thing I did was prime them with oil-based primer. I'm always glad when I pre-prime; you should save yourself the hassle and pre-prime (and even pre-paint) things like this or like board and batten. You'll thank yourself when it's on the wall and there are nooks and crannies you don't have to contend with.
Next I marked the studs on the wall and started nailing the panels up.
I marked pieces that covered outlets and scored them with a utility knife before breaking the unwanted pieces of Masonite off -- another advantage of working with material that's only 1/8" thick.
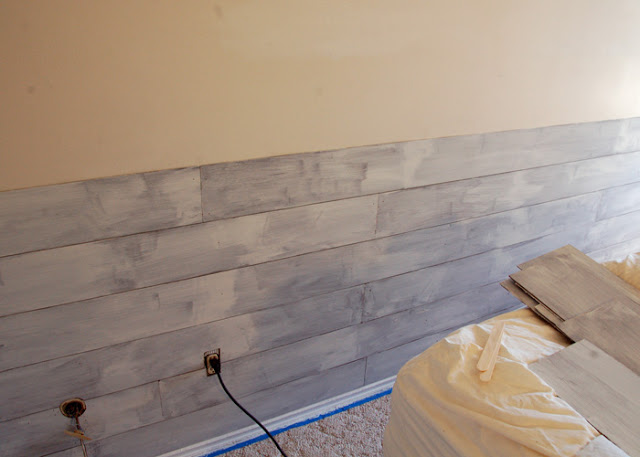
I wanted it to appear random so I didn't worry very much about it -- I'd cut a piece to fit with a miter saw and then use the rest of the same board as the first piece for the next row as I worked my way up -- sometimes things lined up, sometimes they didn't. Sometimes I cut a random piece on an arbitrary line if I felt like my lengths were getting too patterned. I made it up as I went along and it worked great.
I made sure to nail each strip of Masonite into the studs for stability and I also put two nails into each board's short end, one at the top and one at the bottom of each strip like this:

I used craft (popsicle) sticks as spacers between rows so there would be a natural looking gap between my faux boards.
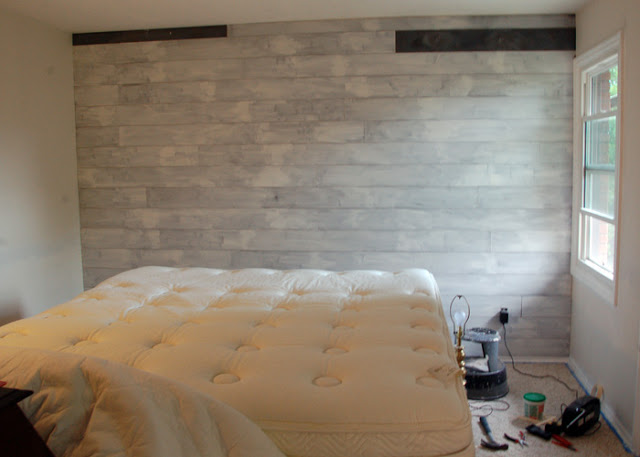
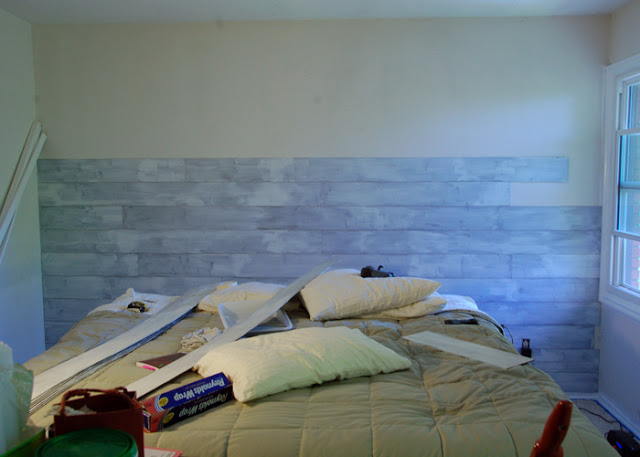
And of course, I ran to the store for that one last piece of Masonite for the two dark boards in this photo -- talk about frustrating!
Last, I filled all nail holes except the pair in each Masonite strip's ends (I like how they looked) and coerced invited my dear sister and niece to help paint. Mwahaha.

For about $32 in Masonite, I think it looks fabulous! It was a quick, easy way to add some detail to the room and it was definitely worth it.
Definitely a manageable way to add some character to a room in your house, don't you think?


This is G E N I O U S!!!!! Im doing this!!! What a total money saver and it looks FABULOUS~ What an amazing idea and job!!! Thanks Deidre~ http://simplysimplisticated4.blogspot.com Im following you:))
ReplyDeleteThank you! :)
Deletelove this look! We are thinking of doing something similar at our place. What paint colour did you use? Love it!! Great job :)
ReplyDeleteThe paint is SW Contented mixed at 75% :)
DeleteLove this idea. I currently rent, but this is definitely going on my home projects list for when I own my home. Thanks for sharing!!
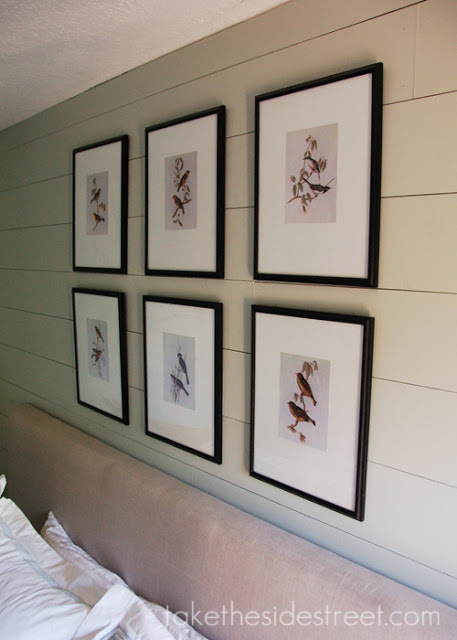
ReplyDeleteWow, came out amazing!!! Those framed bird pics are nice too!
ReplyDeletereally diggin' it when it was just primed! just sayin'!
ReplyDeleteyou are truly an artist!
and btw @ lifebyemily. you can do this in a rental. just tack it to the wall with an 18 gauge brad nail. super small holes to fill when you peel it off to move!
ReplyDeleteA really cool project that turned out super
ReplyDeleteAwesome! Just one question, not sure what you mean by, "I also put two nails into each board's short cut end". Can you expound a bit? Thank you so much!
ReplyDeleteGood question, I added a fancy diagram to the post to better illustrate this ;) Thanks!
DeleteThat looks awesome!! We tried to buy boards at Lowes to do our feaux board and batten a couple weeks ago but they didn't have the right width of boards so we had to use Home Depot and let's just say that their board cutting policy is nowhere as generous as Lowes:( We had to pay $1 per cut...and when you have more than 40 cuts, that stinks...but it was still cheaper than renting a saw so we did it (and it's nice because the cuts are straight when they do them.) Moral of the story always use Lowes for these types of projects! Your mom's room looks awesome. Does she absolutely love it?
ReplyDeleteWOW -- you are awesome! This looks fab-u-lous!!!
ReplyDeleteFound you through HoH....love this space!!!
ReplyDeleteCan you come over and decorate my home????
Thanks for share your talents with us!
Lia B
That looks amazing--you're a genius! Now, where in my house can I do that???
ReplyDeleteThis is absolutely wonderful! I didn't realize Lowe's would cut materials for you. I wonder if Home Depot does that, too? That's the part that usually stops me from trying any projects, because I'm not a fan of using my husband's table saw. (Okay, my husband is the second thing that stops me from trying projects. Every time I begin, he comes up with "You know, you really should do it THIS way..." then takes over. How do you keep that from happening?)
ReplyDeleteThanks Katie! Lowe's has a much more flexible/generous cutting policy than Home Depot. They'll cut things smaller and I've never been charged. And as for my husband, I'm much more handy than he is so I don't have any words of advice for you -- he generally steers clear of my projects ;)
DeleteIt looks great!
ReplyDelete