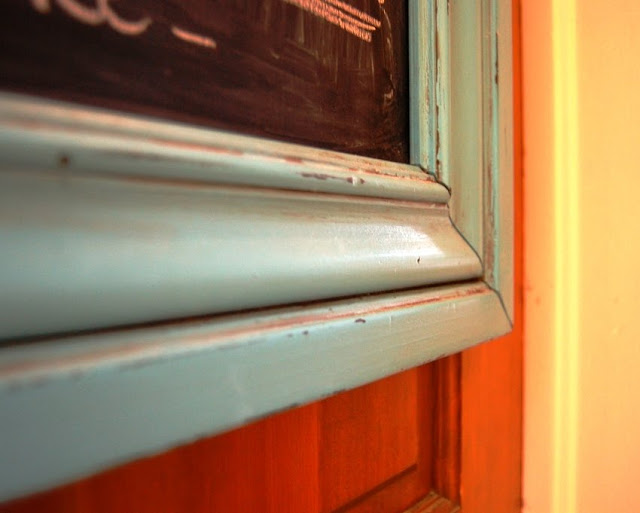
Ages and ages ago (or you know, a few months ago -- ages in blog world) I promised to share my technique for achieving the cute finish on my kitchen chalkboard frame, seen here in all its closeup glory:
When my sister was visiting last weekend she decided she wanted her own chalkboard, so after a bit of fake grumbling I made one for her. I did it in one day, so it's a pretty basic little project.
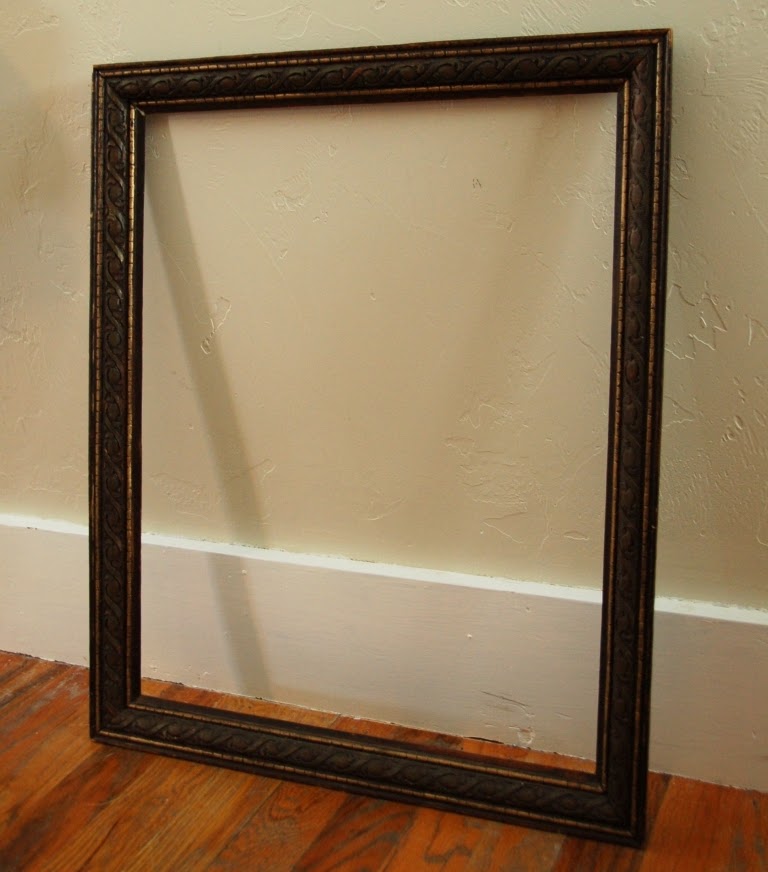
First we went and got a large frame from a local thrift store for $2. (It was $5 but I talked 'em down on account of a loose miter joint that needed some love. Thrift stores are like garage sales, for sure)
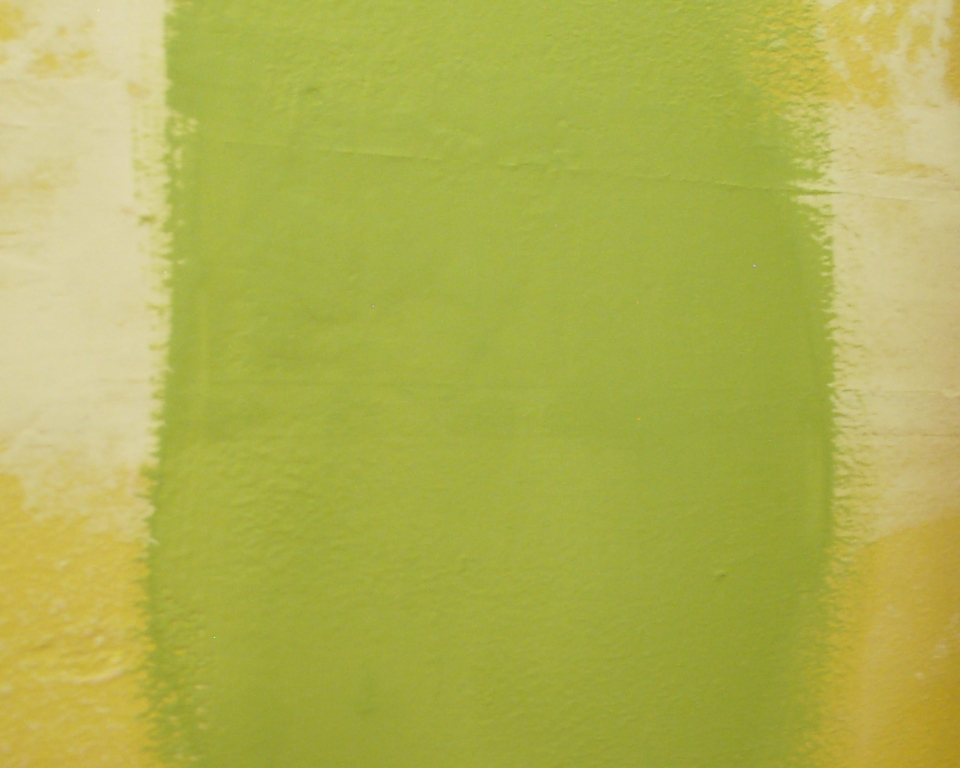
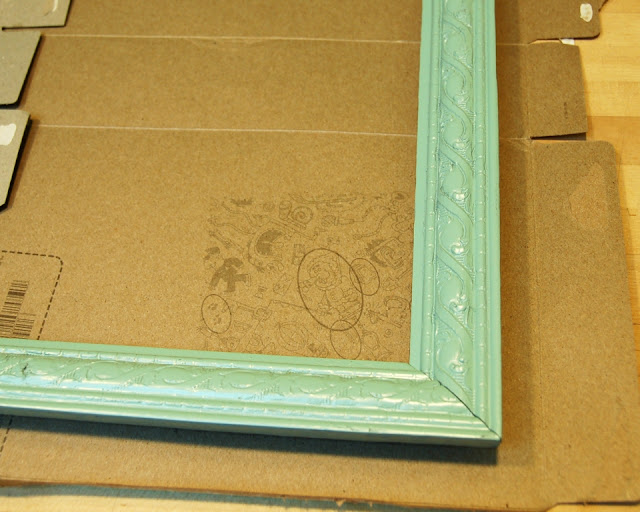
I painted it with several coats of a color I stumbled across at Michael's a while ago, Krylon's Catalina Mist. Brilliant stumble, Anna.
Here's a closeup of the painted frame on my fancy shmancy cereal box countertop protector:
Catalina Mist is a lovely aqua shade. I'm always happy when I find spray paint that comes in nice colors since the selection is so limited.
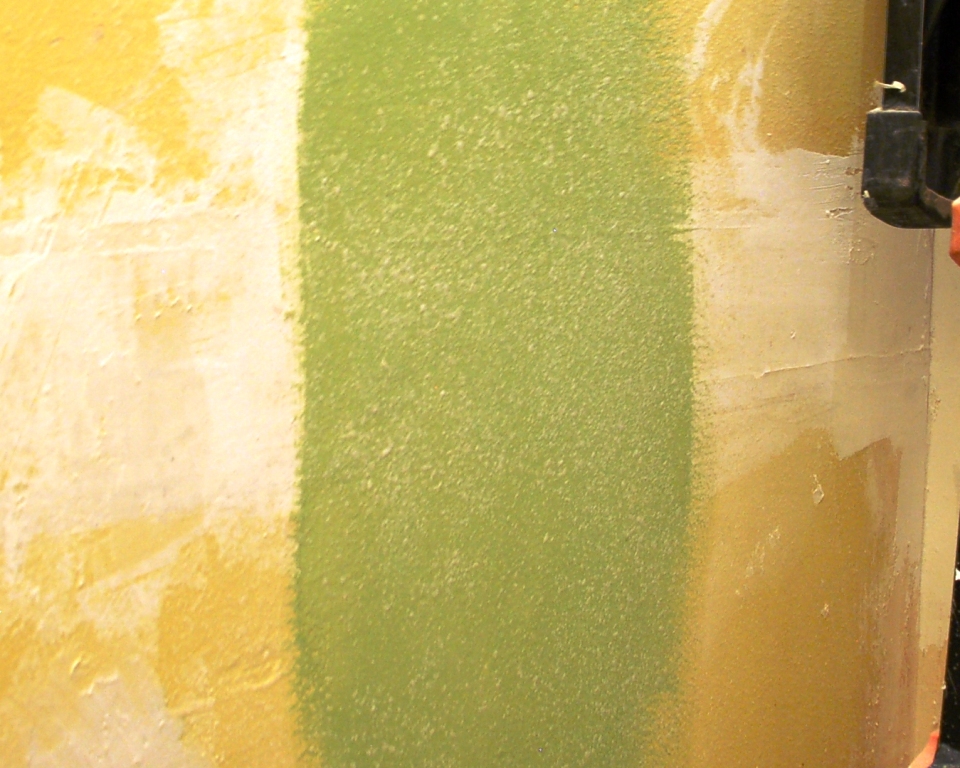
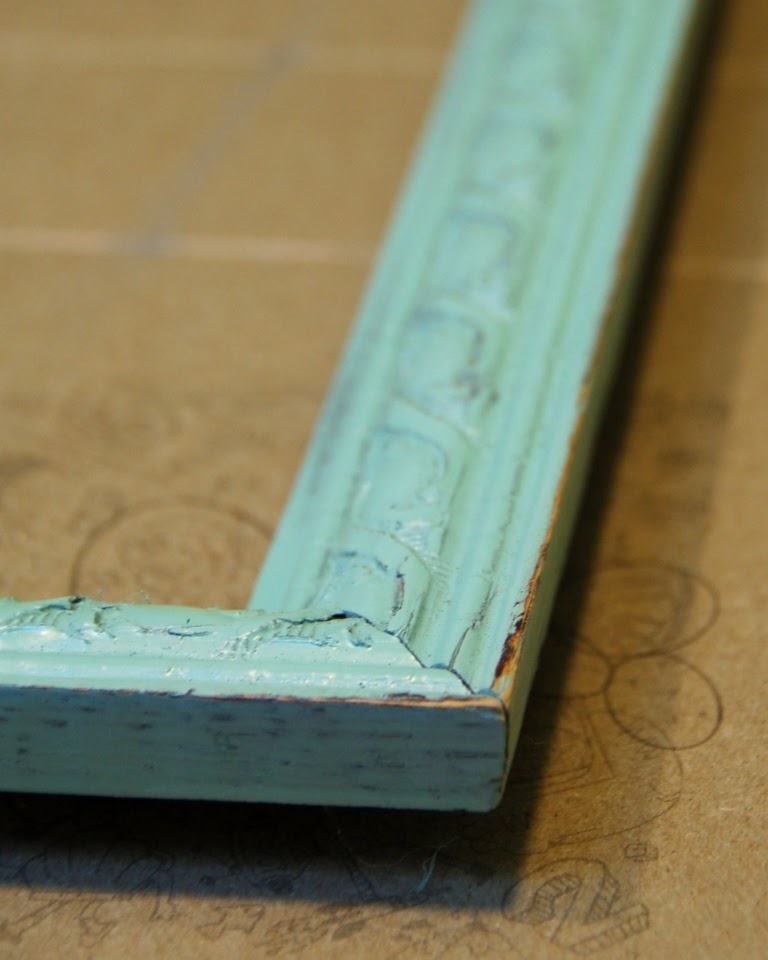
Next, I distressed the frame with a fine sanding block I keep around for just such an occasion. My distressing philosphies? Less is more and keep it random. Now I'm no expert in distressing -- heck, I rarely use this technique. There are tons of great tutorials out there in blogland, so I'm just going to give you a brief rundown.
Like I said, I use a worn out sanding block with a very fine grit. Just sand the areas that would naturally receieve most of the wear. The frame's outside corners received the largest amount of attention, then I lightly rubbed the sanding block along the entire front of the frame to gently rough up the detailed design and make it look less "I-just-painted-this-with-a-can-of-Krylon".
When I distress I do it slowly and hop around the frame (or other piece), examining the overall project constantly, and doing my best to maintain a random and natural look. Start sanding too much or too symmetrically and you might as well stamp "Faux Distressing Done By Anna" right on the front of your frame (in my opinion).
After all that, you'd think I'd have a better picture.
(You can also get a look at my technique by scrolling to the top of this post and the photo of my turquoise chalkboard frame)
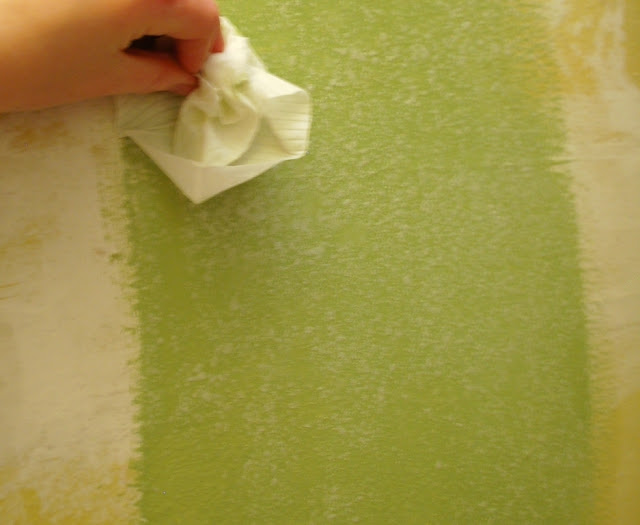
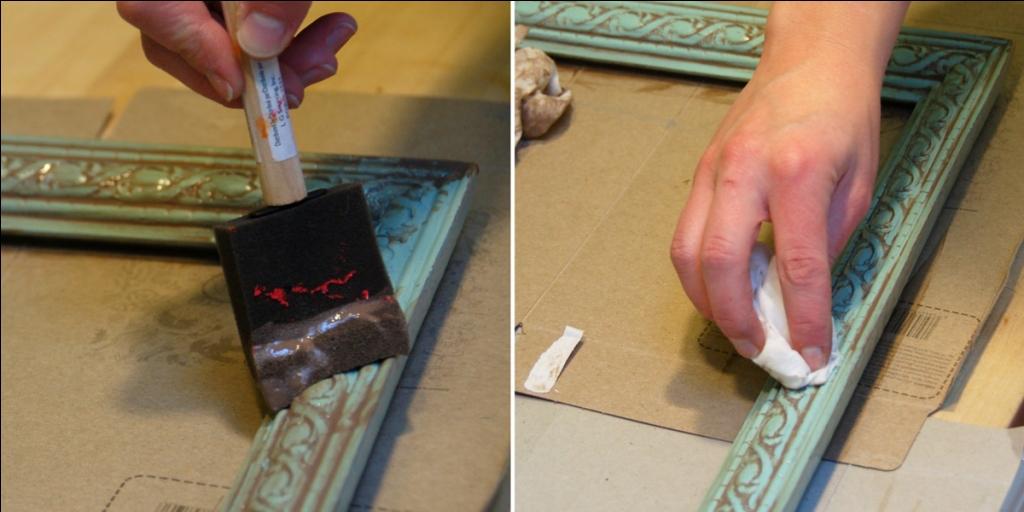
After distressing, I wipe on a glaze with a foam brush, making sure to get it in all the frame's details. I let it sit for a few minutes until it starts to dry, and then wipe it off with baby wipes. Letting it dry just a bit allows more of the glaze to stay in the details of your piece rather than just being wiped off.
Glaze is another subjective thing -- you want to be happy with the finished look, so leave as much or as little glaze on the piece as you choose. If you look at it and it makes you want to dance a jig, or eat a doughnut, or kiss your husband, then I'd say you're good.
My sister bought a small piece of 1/2" MDF from The Home Depot for around $5 and had it cut to fit the frame, then I painted it with chalkboard paint while she attempted to beat my awesome Unblock Me skills. She's a cheater, by the way.
Nope, no picture of the chalkboard paint either. This post is about the frame, after all.
Let it dry and stick the chalkboard into the frame... then hang and enjoy!
{This spot will eventually have a photo of the finished product when my sweet and lovely (cheater) sister remembers to get it to me. Hey Buff, I'm talkin' to you! XOXO}
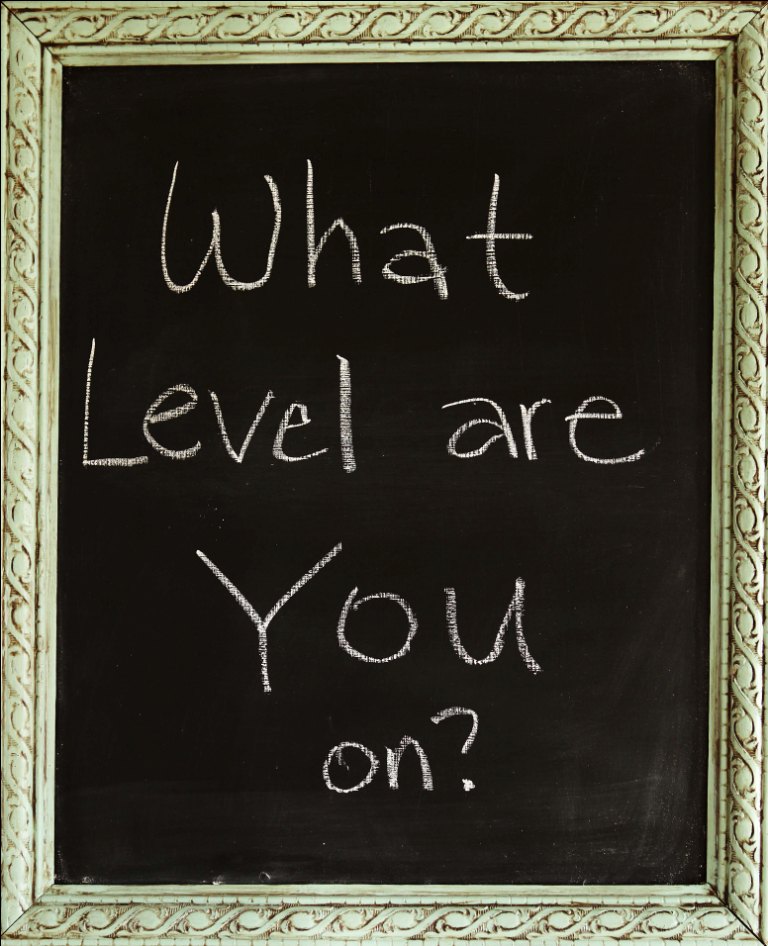
UPDATE: Here's the finished product, complete with a snarky Unblock Me-related message from my sister:
My answer? I'm not telling. The game is on my husband's phone so I rarely get to play it, and somebody whose name rhymes with "shmy shmister" should get back to work! Cheater!
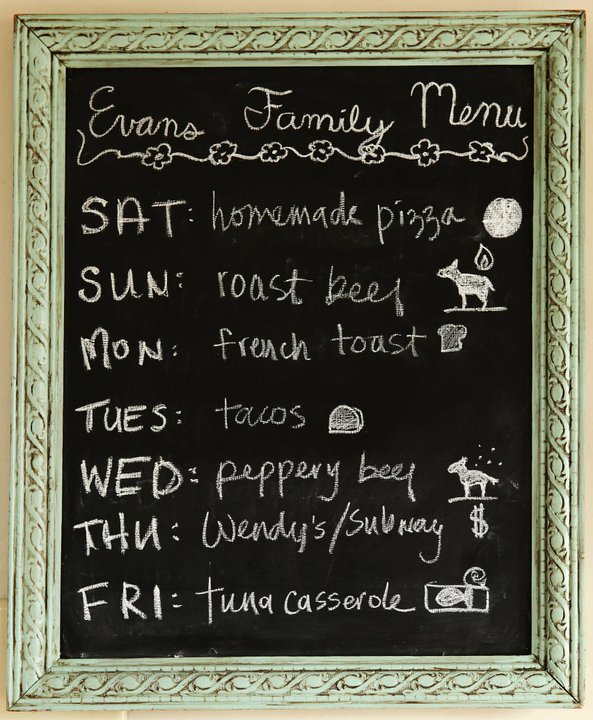
Here's another photo of the board complete with imaginative menu-related drawings:
Thanks to Craft Gossip for featuring this project!

Sharing this post at
The DIY Show Off
Finding Fabulous
The Shabby Nest


