


If you're a fan of this blog on Facebook or if you follow me on twitter, you may have seen my joyful exclamations when I finished pulling all the wallpaper down in my stairwell. It was a beautiful moment, one that will warm the cockles of my heart for a long time, I'm sure.
(On a side note, I've always wanted to use 'warm the cockles of my heart' in a sentence. Check!)
After the wallpaper was done, it was time to move onto patching the walls.

Between the chair rail that had been on the wall, putty knife gouges and the section of unprimed wallboard from an old addition, there was plenty to patch. This is always the hardest part of a project for me, because I just want to paint already, and patience isn't one of my strengths.
But I know that if I just take some time and do it right, I'm going to be a lot happier with the end result. Soooo, I patched. And I patched. And I patched some more.
Then it was time for some texture.
When I fill holes that are bigger than nail holes, I like to add some texture to help the patch blend more seamlessly into the existing walls. While orange peel texture is not on my list of favorite things, it's what is on the walls in my stairwell and I have more fabulous things to spend my money on than fancy new wall textures.
Here's my non-blended wall in dire need of some textural love:
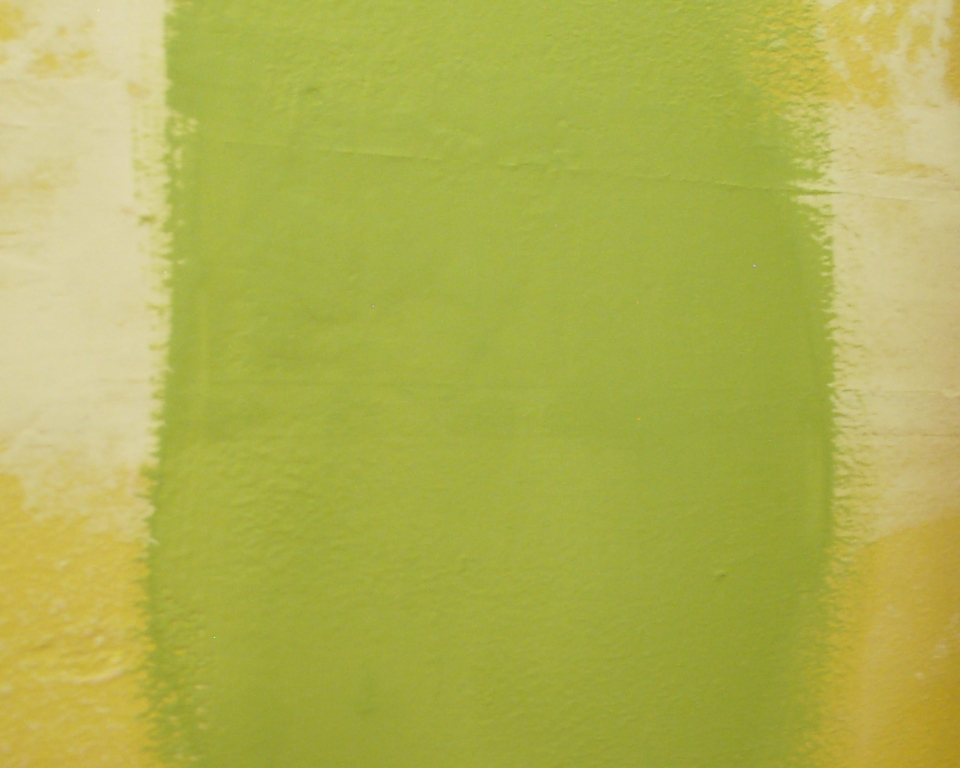
No, my stairwell is not going to be green. I just picked that color to help the texture show up better. No worries, I pinky swear. Can you see the stripe of smooth wall in the middle? I sure hope you can.
I thought I'd share the completely amateur, fly-by-the-seat-of-my-pants process I use to match wall textures using an aerosol can of spray texture. I use this stuff that you can buy at any home improvement store:
The thing I like about this specific product is that you can turn a dial on the back of the nozzle to adjust the size of the splatter. I always turn it to the finest spray to begin.
1. Spray the texture on. I prefer to use a continual spray vs. quick bursts because I've noticed that each time you press the nozzle you get some bigger splatters before the spray evens out. I also err on the side of caution -- don't go crazy, you can always add more texture later if it doesn't match.
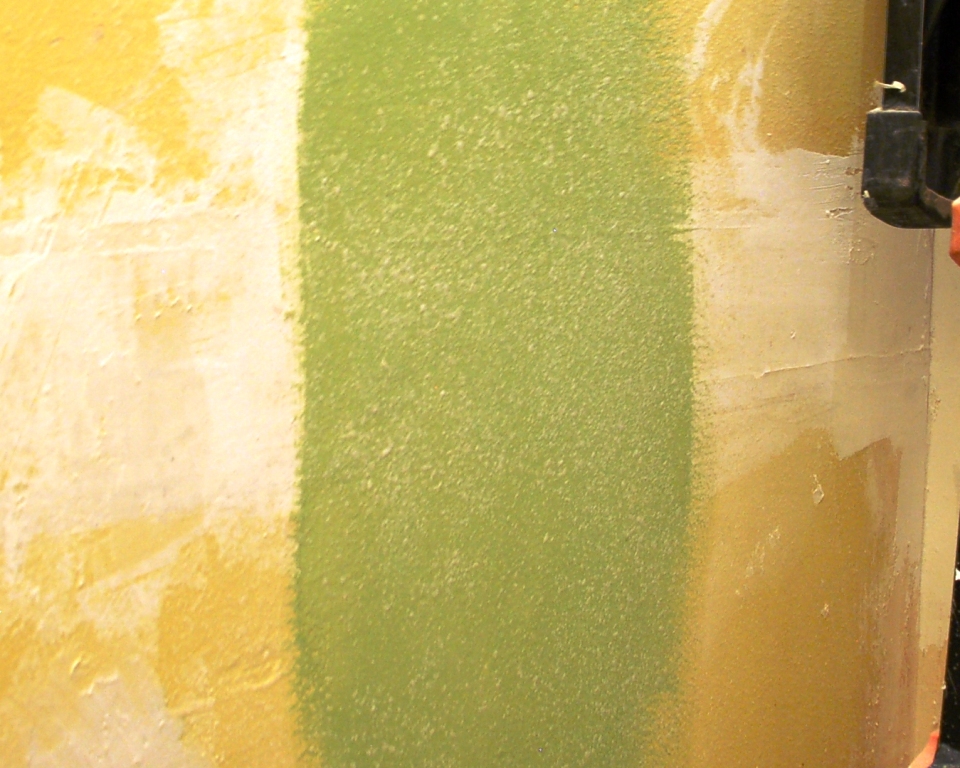
2. Examine. Get up close and personal with your wall. Love your wall. See how the new, wet texture looks next to the existing wall texture. You can decide if you need to spray some more, or if it blends well as is.
Again, I'm no professional and I'm not about to waste hours trying to make it perfect; I just don't want giant spots of perfectly smooth wall surrounded by texture (you've all seen walls like that, I know it!).
Sometimes if the walls have a really, really fine texture on them I even dab at the wet texture softly with a baby wipe to make the bumps even smaller and more subtle. Yeah, that's right. A baby wipe. I'm a mom, people -- that's how we roll.
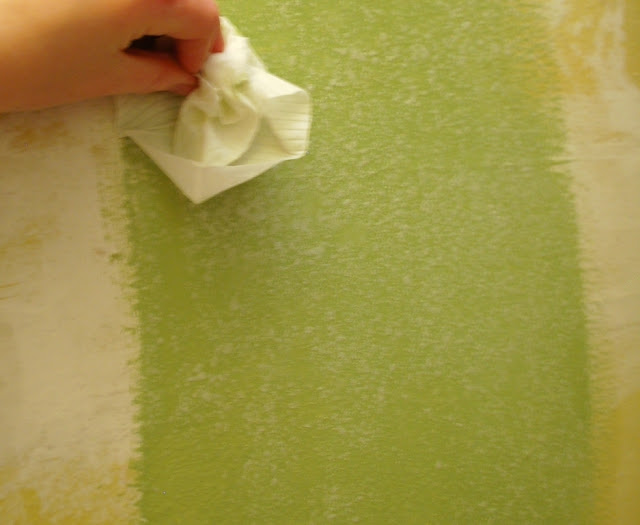
(I didn't actually use the baby wipe method for my stairwell walls, they had plenty of orange peel-y goodness and did not need the texture spray to be toned down one bit.)
3. Let it dry. This one's pretty self-explanatory, friends. No photo needed.
4. Paint. At this point I paint over my test area and the existing wall just to confirm that the result is what I'm going for. If it is, I can tackle all the spots on the wall that need texture and I know just what to do to match the existing walls without all these boring, time-consuming spot checks. Did I mention I don't have a lot of patience?

See? Not too hard. Is it perfect? Um, no. Is it good enough? Ohh, yeah. Life's too short to worry about orange peel.


Wow what a great technique. I really look forward to seeing the finished project!
ReplyDelete