


Recently I've read (and noticed) that mainstream retailers seem to be catching on to the "homemade" bug that's bitten so many people across the country recently, which I think is in no small part due to the huge followings of craft, design, and decor blogs which produce so many amazing ideas. Open up the pages of your favorite catalog and you'll see Christmas 2010 decor includes a sizeable amount of paper garlands, felt wreaths and knit ornaments.
I admit, I loooove a good homemade holiday decoration. It feels so cozy and vintage.
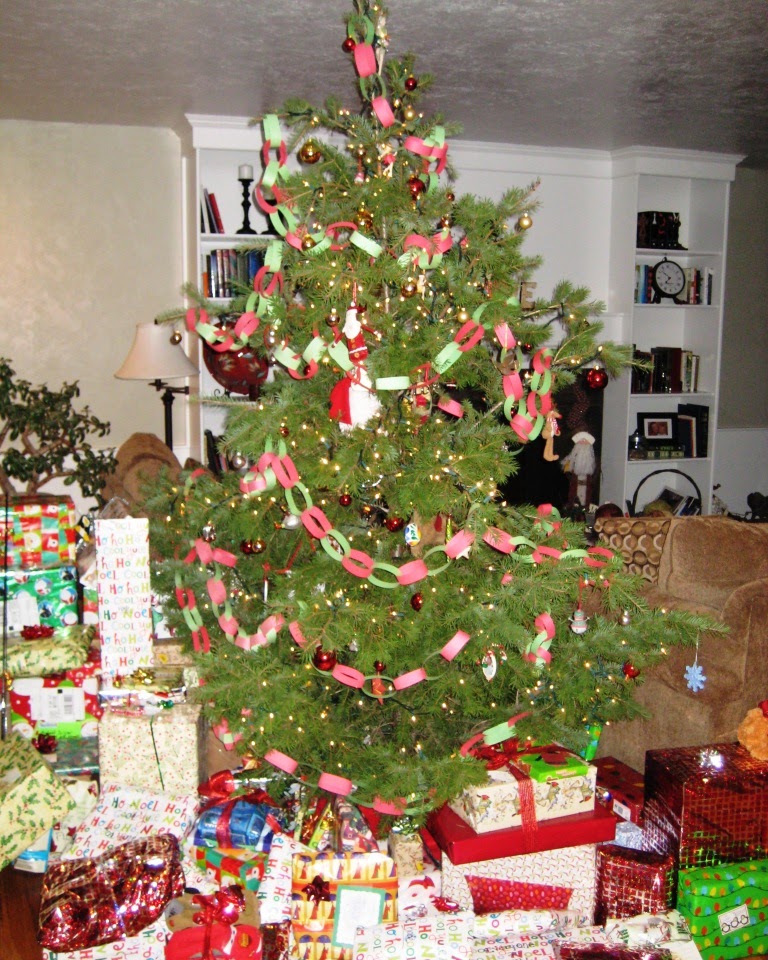
A couple years ago, we spent Christmas with one of my sisters and we decorated our joint Christmas tree with a homemade paper garland. It gave me a serious case of the warm fuzzies, and I was hooked.
.
That crazy tree is a Douglas Fir, by the way. A most fabulously shaped sort of tree if you ask me!
That crazy tree is a Douglas Fir, by the way. A most fabulously shaped sort of tree if you ask me!
Anyhoosies. I was hooked on the homemade stuff, so this year my sister and I stumbled across glitter pom-poms in a craft store and it was love at first sight.
To make my pom-pom garland, I started with all the necessary tools: a giant bowl of pom-poms and thread to string them on.
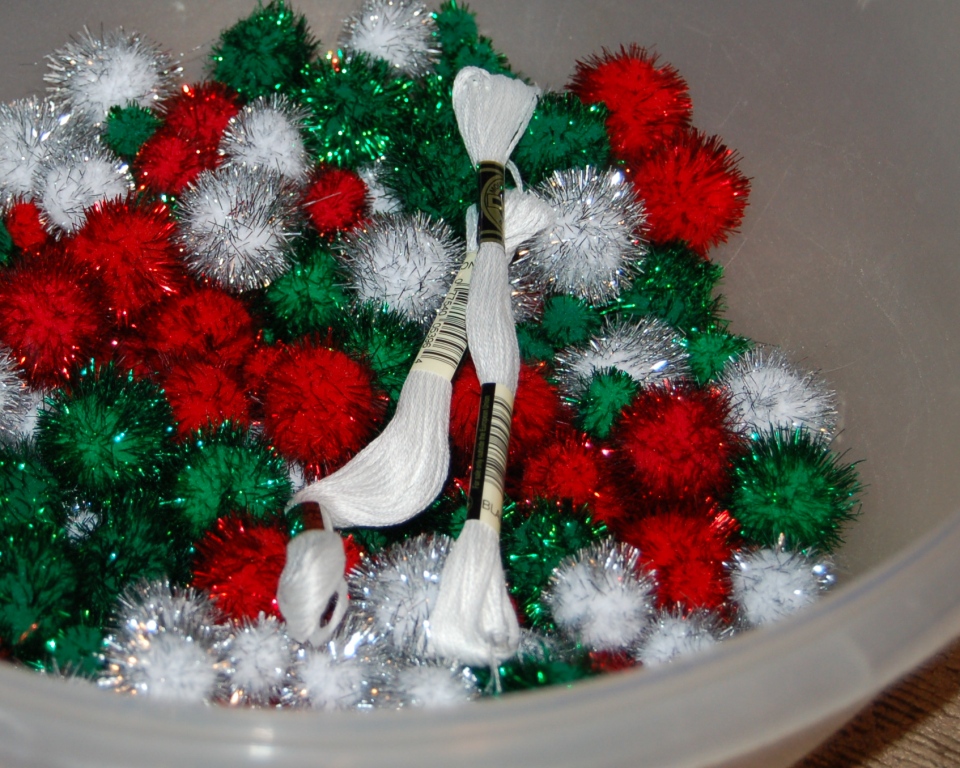
I was going to use upholstery thread but my sister revealed that she had used a strand of embroidery floss (all 6 threads) and I was sold! (Remember how I said fabulous ideas -- and good looks, of course -- ran in my family?)
I cut a piece of embroidery floss that was roughly 9 feet (108 inches) long, made a loop at the end then tied a knot.
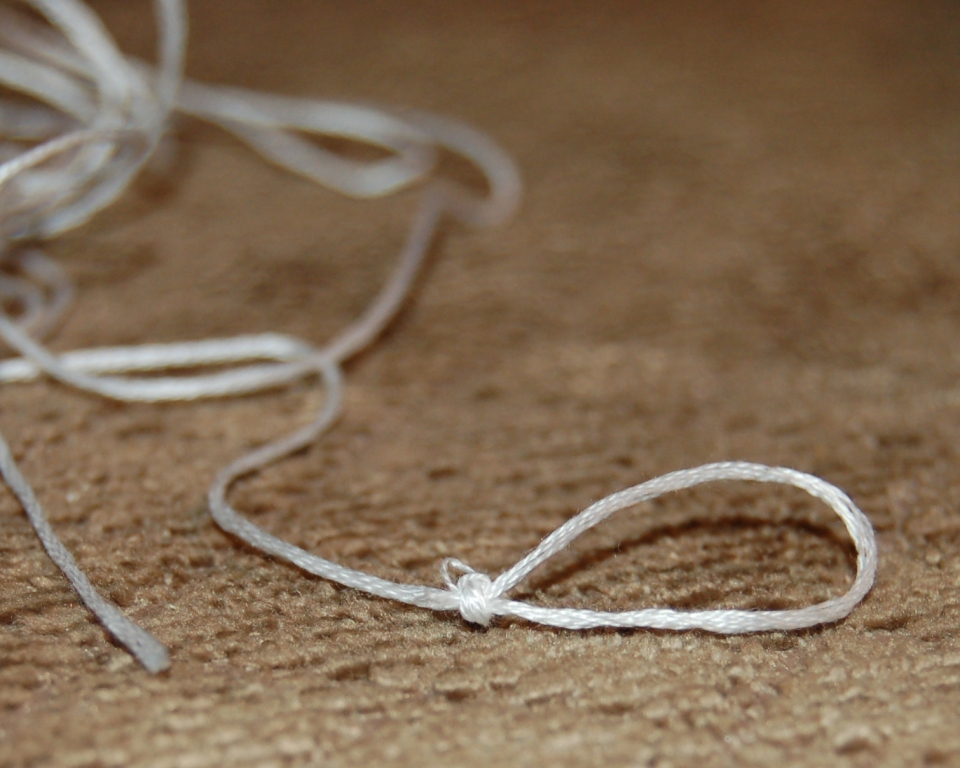
I started my garlands this way so that I could string them together on the tree by threading a pom-pom from the next garland through the end of a loop. I'd rather make several shorter garlands than one giant to-the-moon-and-back garland that would inevitably get tangled beyond repair.
Next, I threaded the other end of my string through a needle and stabbed my first pom-pom. It was oddly relaxing, stabbing pom-poms.
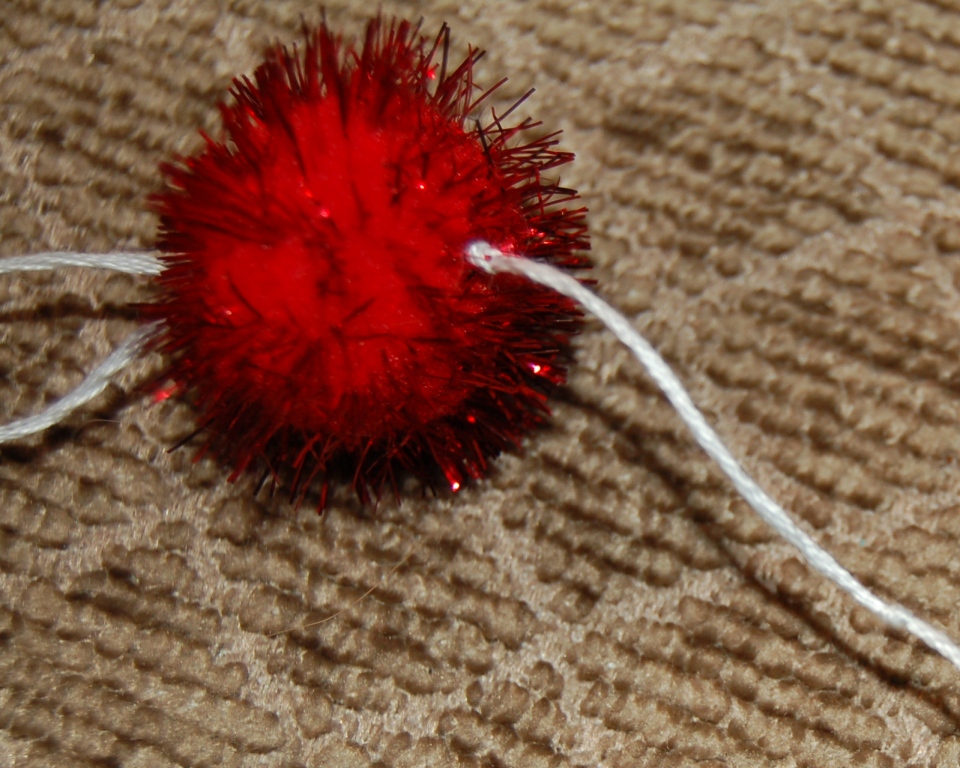
I tied a little knot in the floss to keep the pom-pom in place, and then tied another knot a little bit down the string to hold the next pom-pom in place. See my helpful diagram with invisible knots below:
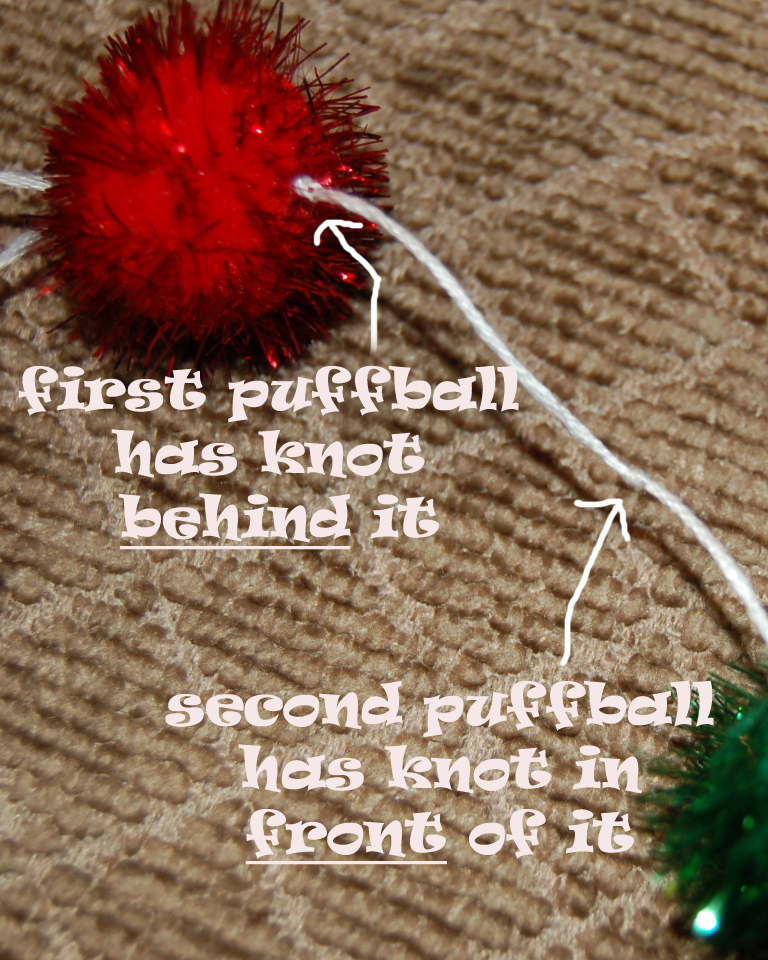
Then the fun began. After ever pom-pom was strung, I would just tie another knot an inch or two down the string and stab another pom-pom.
As an aside, one little knot won't really hold the pom-pom in place if you grabbed it and pulled hard. I considered tying two knots, but realized quickly that it would be too much work... I'm all about cute results quickly, as in yesterday. The thickness of the embroidery floss does help to hold the pom-poms in place, so they're not sliding around or anything... and that's good enough for me!
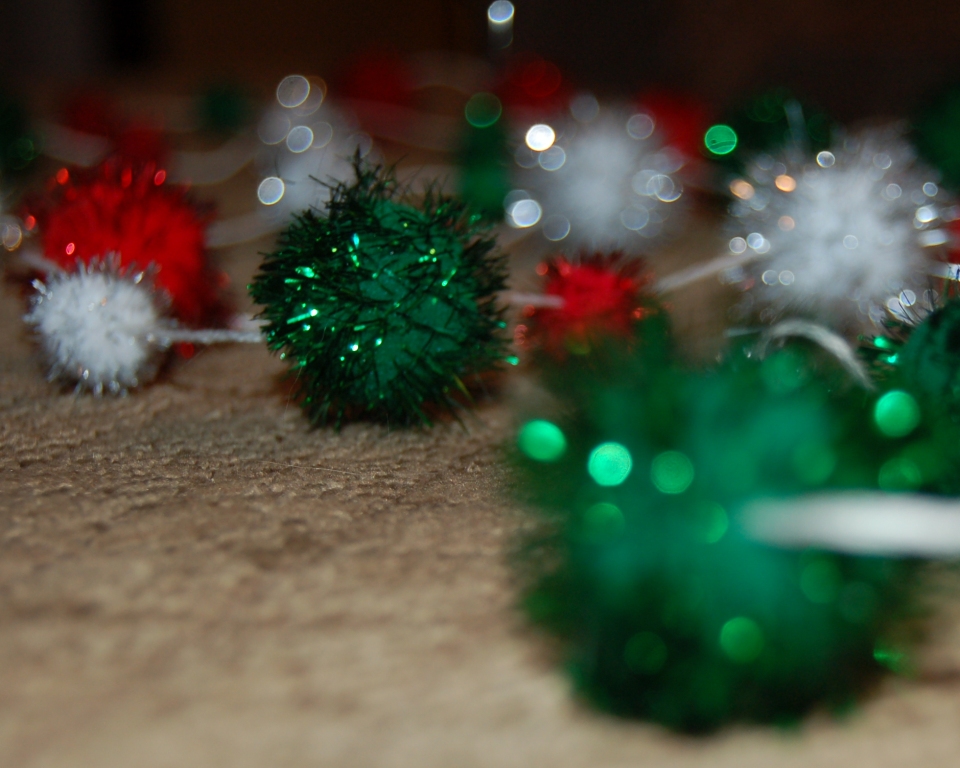
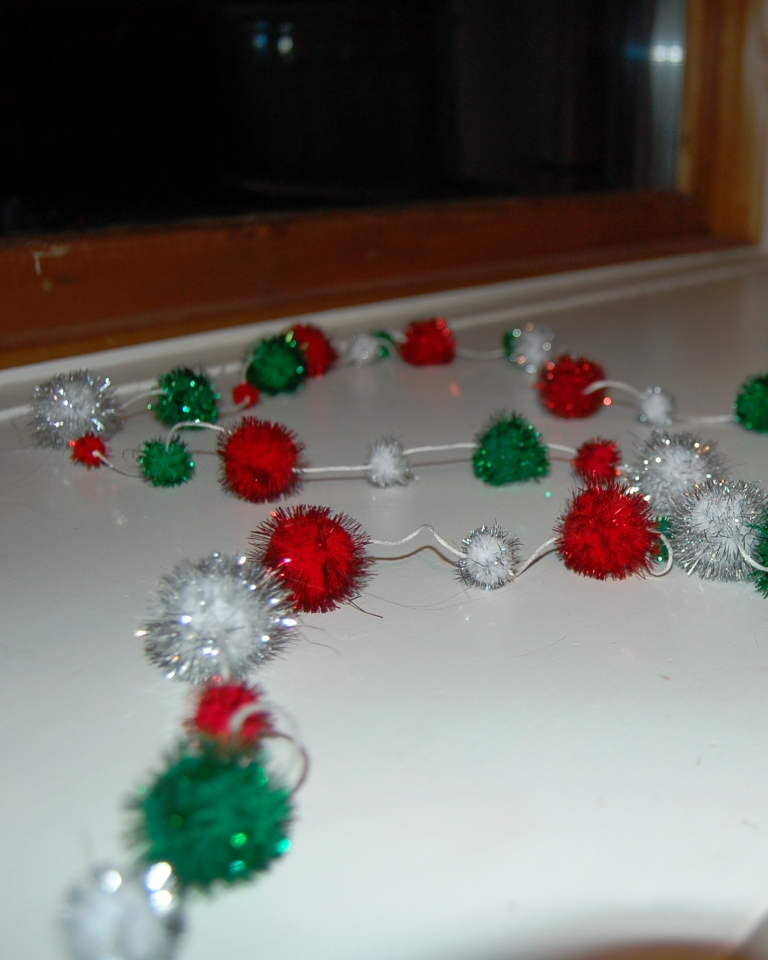
Umm, cutest thing ever? I think it just might be. My 9 feet of string resulted in a roughly 8-foot finished garland. Can't wait to make a bajillion more of these cuties. I'm putting them on my Christmas tree this year, but they'd be cute anywhere!
Since my tree isn't up yet, take a look at what my sister did with some of her pom-poms:
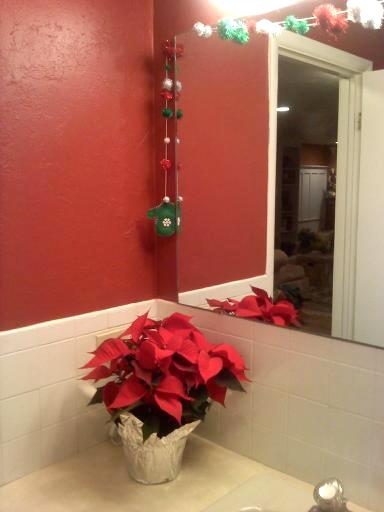
She made felt mittens for the garland ends, and strung it around her bathroom mirror.
Glitter Pom-poms! The possibilities are endless. Go make a garland.
PS. Squee! So excited to be so *superduper* close to 100 followers... celebratory giveaway coming soon!
Sharing this post at:
Remodelaholic,
The Shabby Nest,
a little lovely,
Under the Table and Dreaming,
Krafty Kat,
The DIY Show off,
Centsational Girl,
Busy as a Bee in Paris


Super Cute Garland!! I love those glittery pompoms! :)
ReplyDeleteSee, Anna, you DO sew! :)
ReplyDeleteThis counts?!? :) I feel so crafty and accomplished.
ReplyDeleteI love it! So cute! Just for the record I always go to the odd shaped trees when we go to "tag" them. My hubby learned a long time ago to just go with it! lol
ReplyDelete~Tana
soooo cute! love all things glittery at Christmas.
ReplyDeleteanyways, just came over to tell ya I just awarded you with the Stylish Blogger Award.
Come on over to pick it up!
http://thebirdspapaya.blogspot.com/2010/11/this-is-one-fun-way-to-get-award.html
Hood winked! Ugliest room in my ENTIRE HOUSE and it is on your blog....nice. That is what I get for beating you to the fabulous garland punch eh......just for that I am not bringing over wine next time I invite myself over. :)
ReplyDeleteP.s.....I am wondering if the knots in the floss are really necessary because it is thick and not slippery my pom pom's do not slide on the string....just a thought. It would save you lots of time and "knot" hassle. You are fabulous and P.s.s....I LOOOVED that awesome tree with paper garland.
I decided that I preferred to knot it -- I could still push the pom pom past the knot if I really tried, but without the knot they could still move around a little when I was packing, unpacking, or stringing the tree... and I'd prefer to have them stay where they belong if I'm gentle with them.
ReplyDeleteAlso, I don't want to be able to move them around or I'd do that every time I walked by the tree, cause I'm neurotic like that. ;)
Yes, you have a good point....Thank goodness the craftiness and the totally awesome cuteness factor is all I got from teh genetic pool....I dont have room in my life for neurosis. :)
ReplyDeleteI can't wait to see your tree all strung up with this adorable garland....I might have to get green with envy and copy cat you so when you come over to my house you can walk by my tree and adjust my pom pom's that "may" slide out of position....
That just SCREAMS my daughters name. She is going to LOVE this project!
ReplyDeleteHey girl I gave you a shout out but, your button doesn't work it leads to blog u...
ReplyDeleteCute project!
Hey Ganine :) I fixed the button issue, you're so sweet to give me a little shout out, thanks :)
ReplyDeleteOh my heavens! These are just too cute! I'm thinking my boys would love to help make some for our tree this year. :)
ReplyDeletemy oh my, how completely sweet are these!! What a glittery fabulous touch for the tree or tabletop. Thanks for sharing!
ReplyDeleteI love cute cheap crafts! Good job.
ReplyDeleteThat is so adorable! I am going to have to give that a try. You and your sister did a great job!
ReplyDeleteSO cute!! Love it. Thanks for sharing a great idea!
ReplyDeleteI am so IN LOVE with this! Just found you over at HoH. I'm your newest follower! :) Hope you'll stop by and maybe follow me back (I'm @ 99 followers myself) and maybe even link this bad boy up on my Holiday Hookup party!!
ReplyDeletehttp://kraftykat76.blogspot.com/2010/11/holiday-hookup-3.html
I'm featuring you at this weeks Link Party. It will post tonight at 8pm CST. You rock! Thanks for Hookin' Up with HoH!
ReplyDelete~Allison @ House of Hepworths
Hi Anna, Thank you very much for linking up to my party and for advertising it too! I hope your holiday season will be wonderful! Hugs, Maria
ReplyDelete