


For quite some time I've been planning on making a decorative arrow for above my boys' bunk bed. Just because. I thought it would look cute and take advantage of the weird pocket of above-bunk wall space that is created. (Seriously, bunk beds come with some decorating challenges)
Originally I was going to paint the arrow a few different colors and distress it, but at the end of last week I was lucky enough to stumble across a pin linking to a post on Vivienne's blog, The V Spot, about a paint technique that creates a rusted appearance, and I immediately changed my plan.
Are we so very excited to begin? Ready, okay!
1. Cut your arrow
(or whatever shape you want -- draw it on a thin piece of plywood and cut with a jig saw. Go crazy. Not literally though, you'll have a very dangerous tool in your hands.)
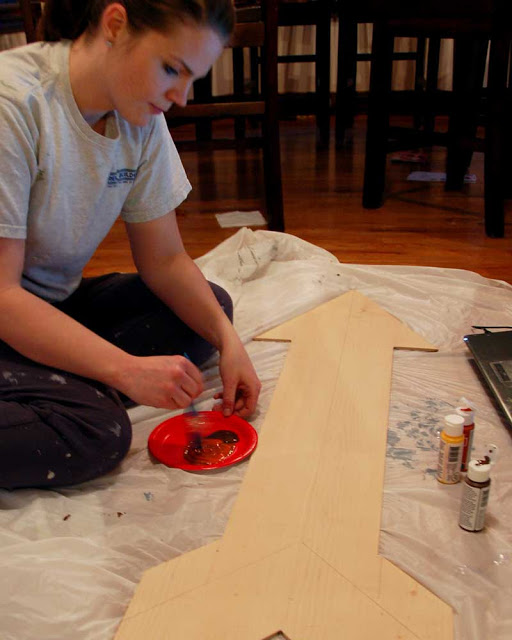
Here I am gettin' all crafty. I made my husband take this photo because the only part of me that ever shows up in these blog photos is my hand. Check me out in one of my eleventy billion haaaawt painting ensembles (I swear the majority of my clothes have paint on them because I just can't learn to change before I start projects).
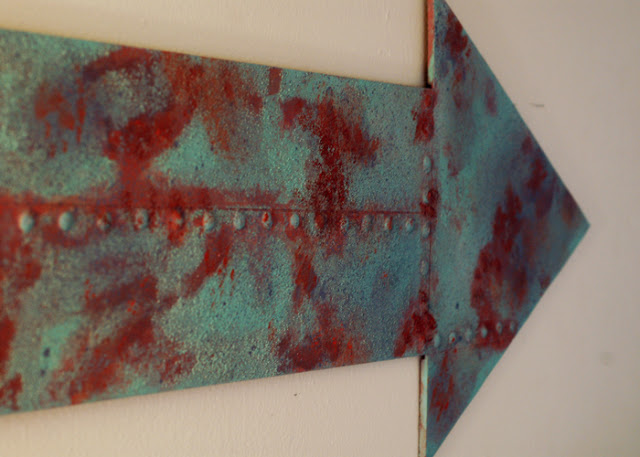
2. Create "seams" in your faux sheet metal
(pretend the arrow is unpainted, I only painted it first so you could see the cuts better)
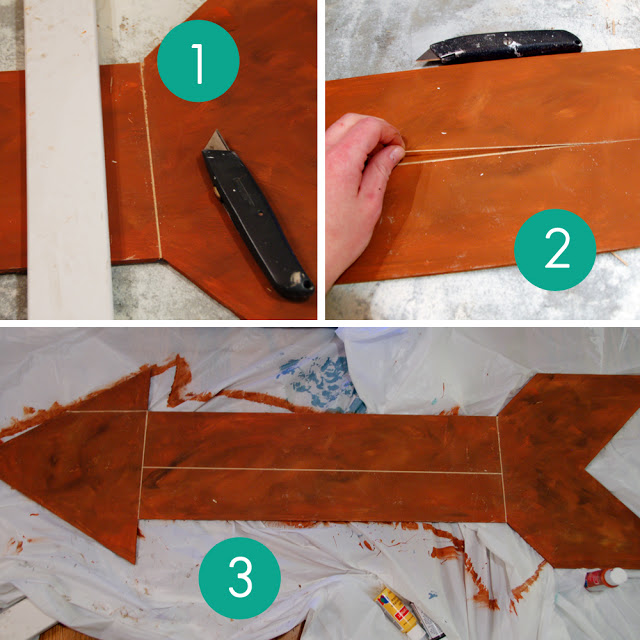
I laid the arrow on a piece of large scrap and used a utility knife and a scrap piece of MDF as a guide. Cut one line several times to score it neatly, then shift the guide board just a bit to either side and cut another line -- you can see in photo #2 that the thin piece of wood between the cuts will pop out.
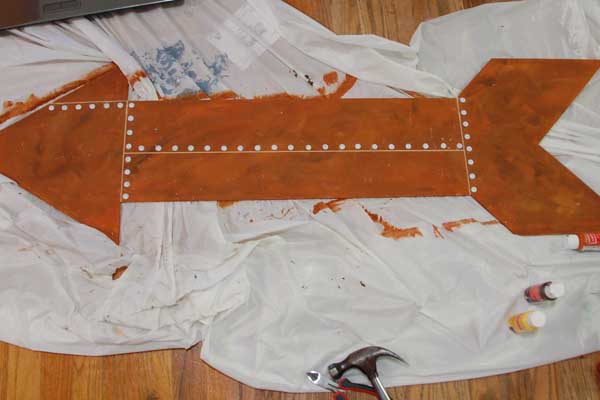
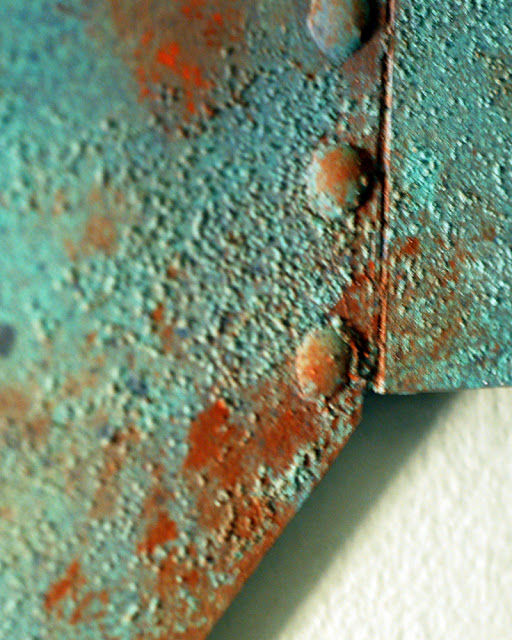
3. Add rivets to your seams
(we're nothing if not accurate, right?)

Use wire snips to cut most of the sharp end off lots of flat tacks. Apply hot glue to the back of each tack, push it into the wood and quickly secure with a few firm taps from a hammer.
4. Prime (especially the tack heads) and paint your base coat
Your base coat will be whatever color you want to look like is on top: rust, patina, etc.
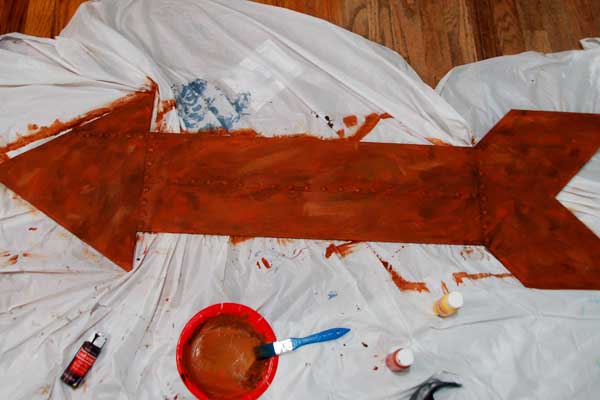
I used a combination of 3 cheap-o craft paint colors from Michael's: an orange mixed with brown and a little yellow in spots. Keep it splotchy -- only bits of it will show through in one place, so make sure to give it a varied appearance so it looks more natural.
5. Salt
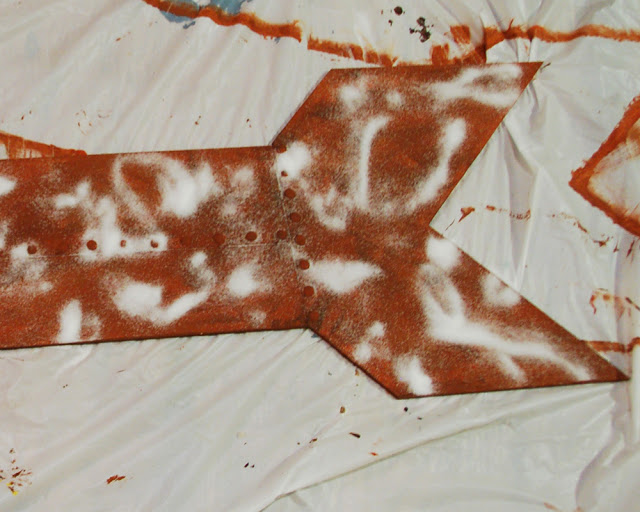
This was my first attempt -- I didn't love how it looked and would suggest on larger pieces to do larger areas of rust vs. non-rust so it doesn't end up looking splotchy. But of course, I only took photos of the first try. Make sure the thickness of the salt is varied so there are spots that end up looking more peppered and spots that look more solidly rusted.
6. Spray paint
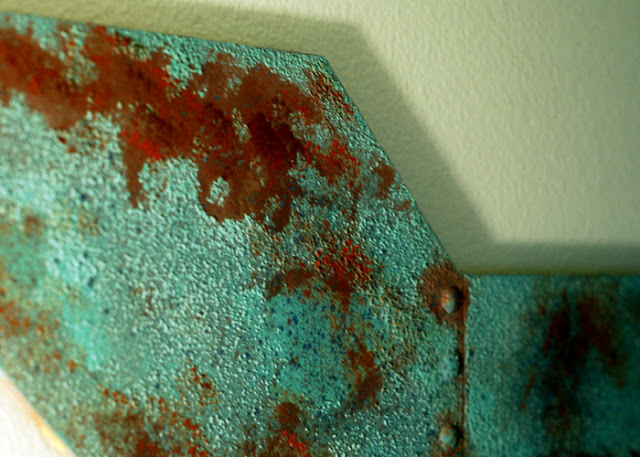
Spray your top color; I went with Krylon's Jade, which I thought most closely resembled the color of a heavy patina. I was going for salty, rusty, patina... you know. An old sign on a dock or something. I don't know, just go with me. Maybe it was painted this color and rusted through... I have no clue. I just liked the combination!
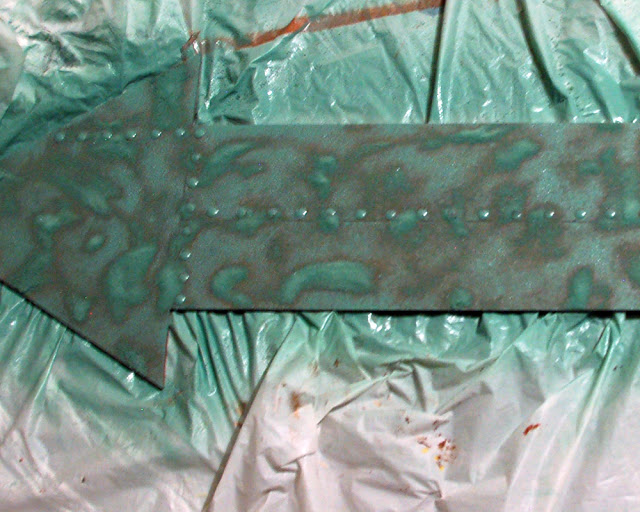
Spray lightly so you don't just spray the salt off.
7. Reveal
This is where it got tricky for me; I love the salt idea in theory, but I had some problems with it. On a piece this size some of the small detail was lost - maybe I should have sprayed more straight up-and-down instead of from the side a bit, but I didn't get as pronounced a grainy look as I was hoping for. Maybe something larger and less melty (to use a technical term) would do better on a bigger piece, like sand?
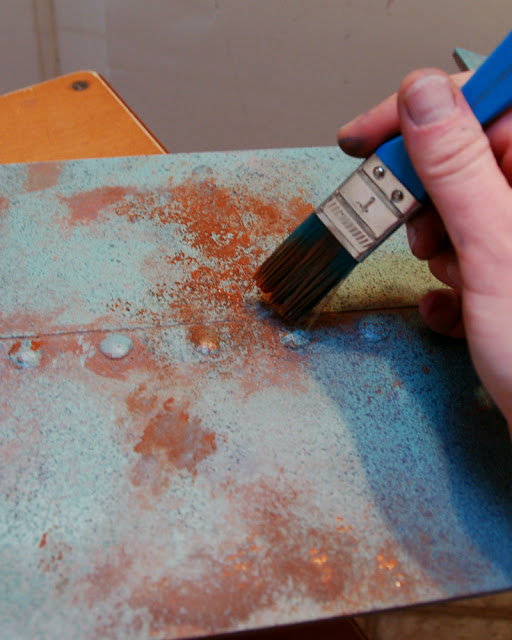
Also, the salt was difficult to scrape off where it hadn't been piled up, so I did end up using a metal grill brush to scrape it off in places (the brush is now in the trash, no worries!). The bonus here was that I decided that I actually liked the look of the salt bumps and thought it made my "metal" sign look even more weathered. So I kept a lot of them and ended up using a dry brush to stipple rusty highlights and gray lowlights on in places (I just used a gray primer for the gray spots).
I glued a couple sawtooth picture hangers on the back and hung the arrow above my boys' top bunk. Pointing to nothing in particular. I just like the look of it!
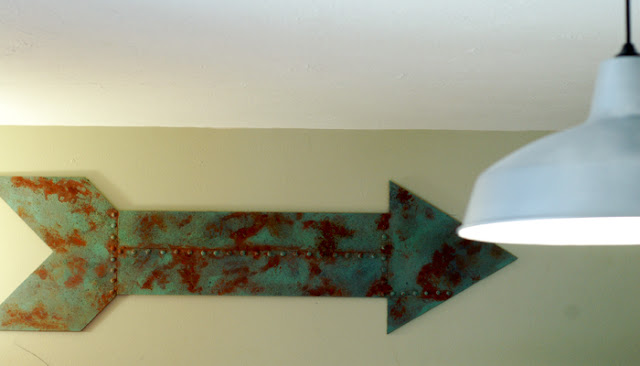
Like it? We love it. Even if it is random. And pointing to the corner. Who cares? Have fun!
Resources: Spray paint technique posts at The V Spot and Shortline Modelers


Aren't you afraid they'll take it down and use it as a mighty weapon? ;)
ReplyDeleteNah!My boys are lovers, not fighters! Aaaaand they have nerf guns. Haha :) So they're good!
ReplyDeleteYes, LIKE!!!:)
ReplyDeleteOhhh this looks so cool! I love how it turned out, it's amazing :)
ReplyDeleteWow that looks so REAL! Awesome job. And, it's good to know I'm not the only one who never changes before breaking out the paint!
ReplyDeleteSmiles!
Sammy ~ Renew Redo
This is brilliant! Love it!
ReplyDeleteI think it looks awesome! Great idea. :-)
ReplyDeleteThat really looks rusted! Very cool! What a great idea.
ReplyDeleteThis looks so realistic, I am going to make one of my own, thanks for the great tutorial!
ReplyDeletebrilliant!! love it. C xx
ReplyDeleteThis looks awesome! I think it turned out great! Thanks for the shout out.
ReplyDelete